R100pro
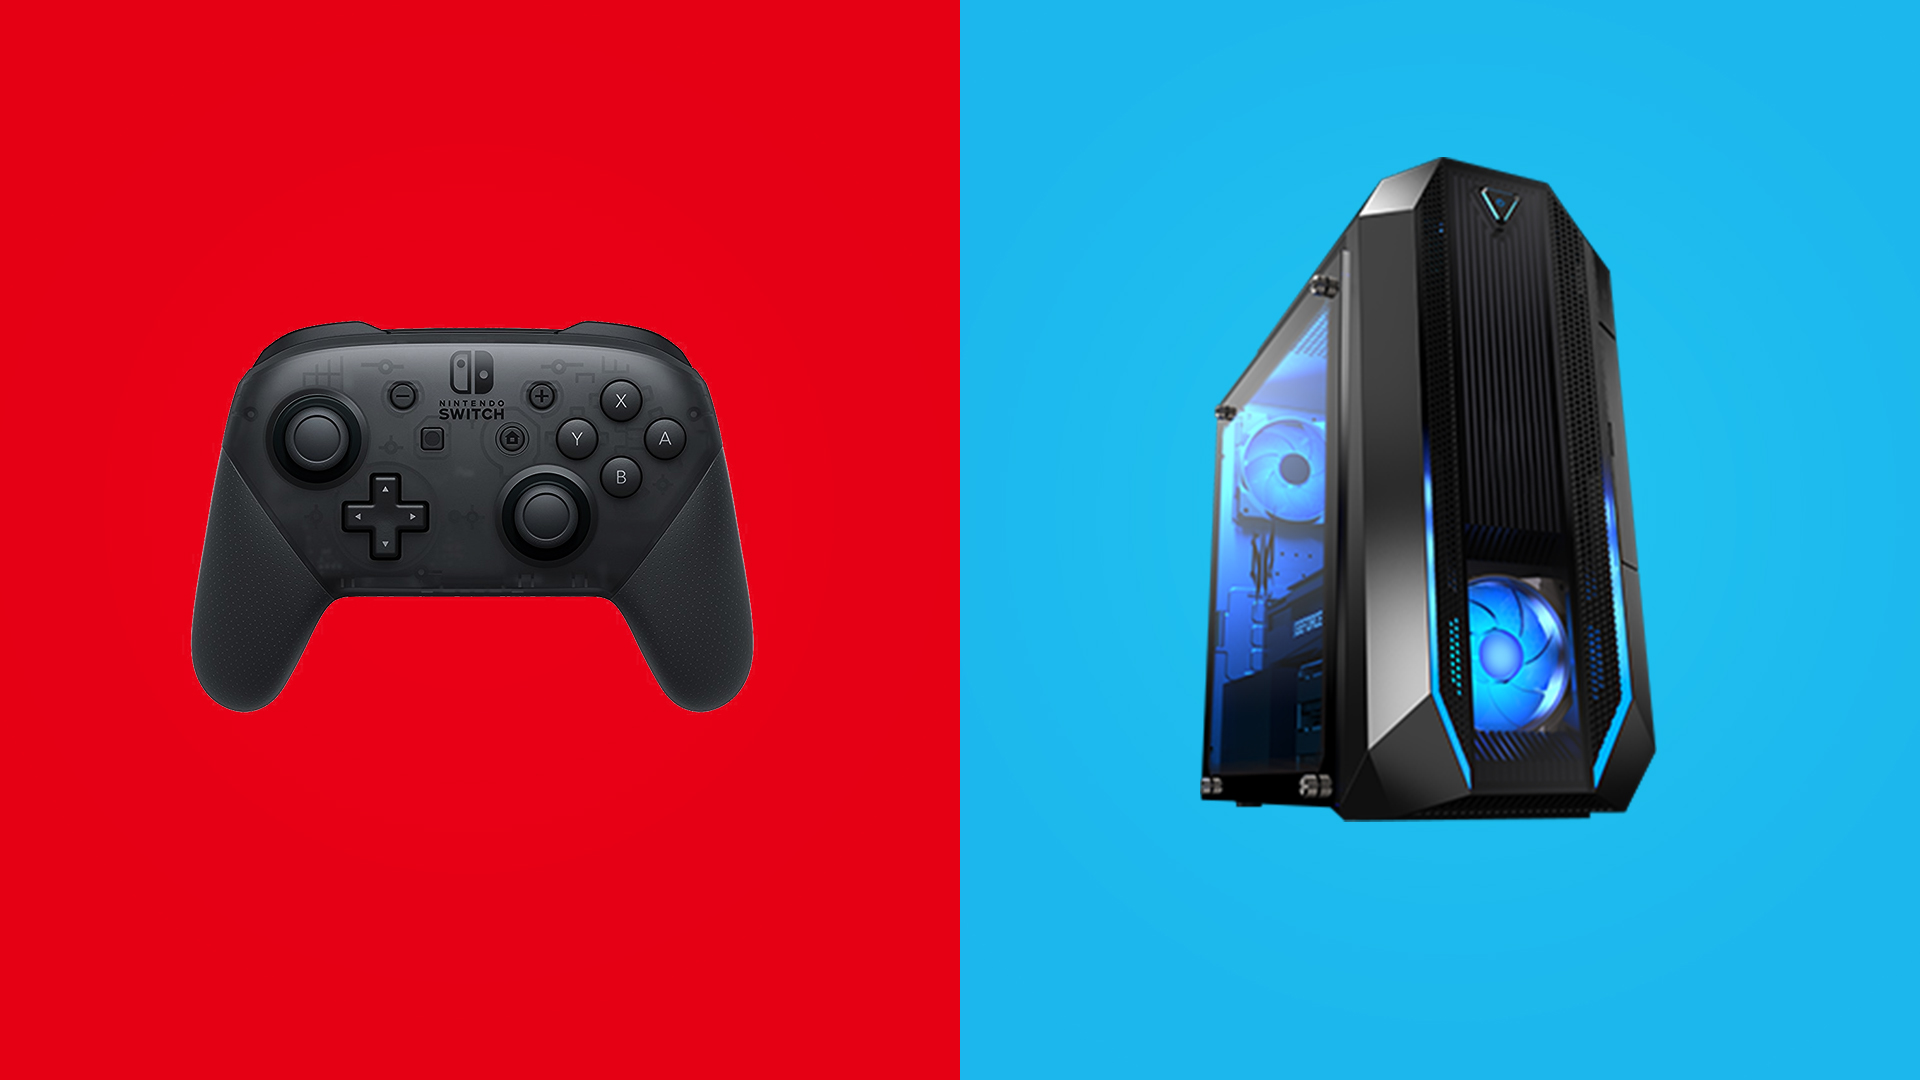
XBOX controller connect to consoles with R100Pro
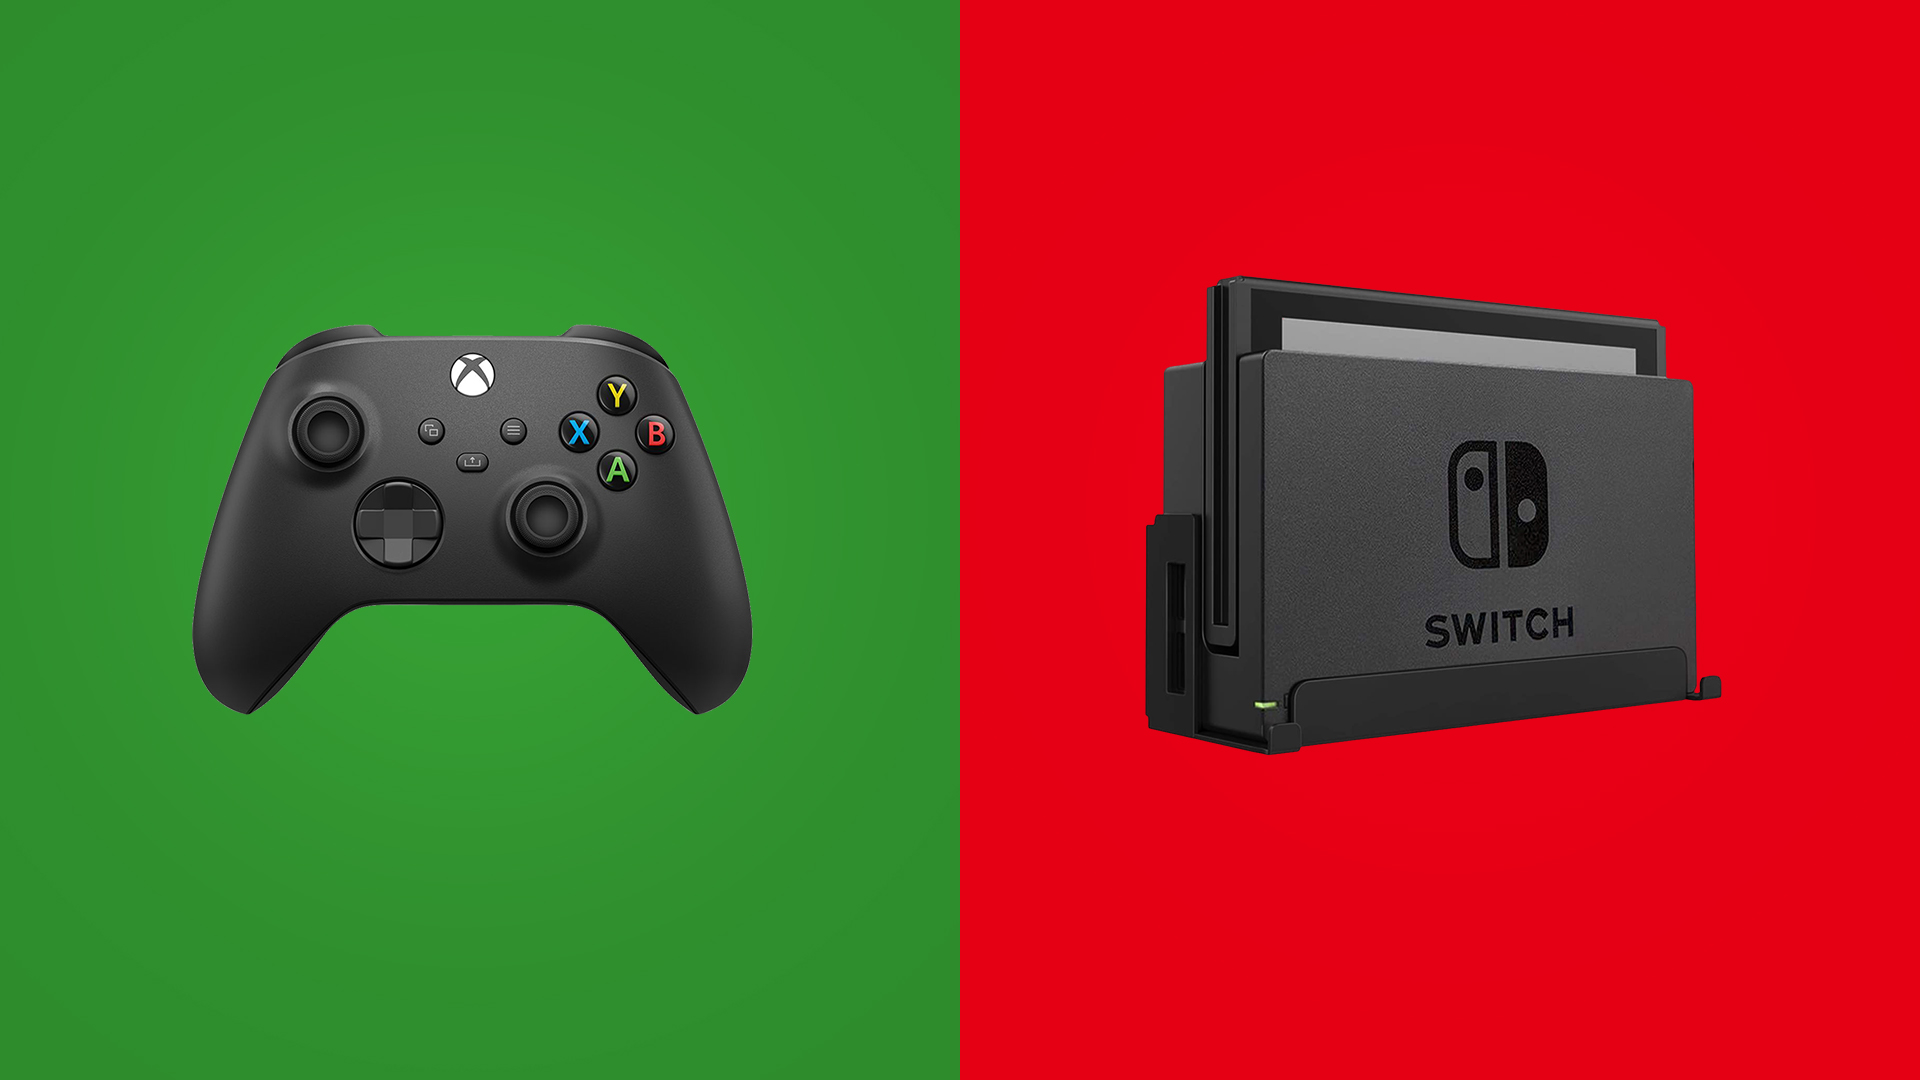
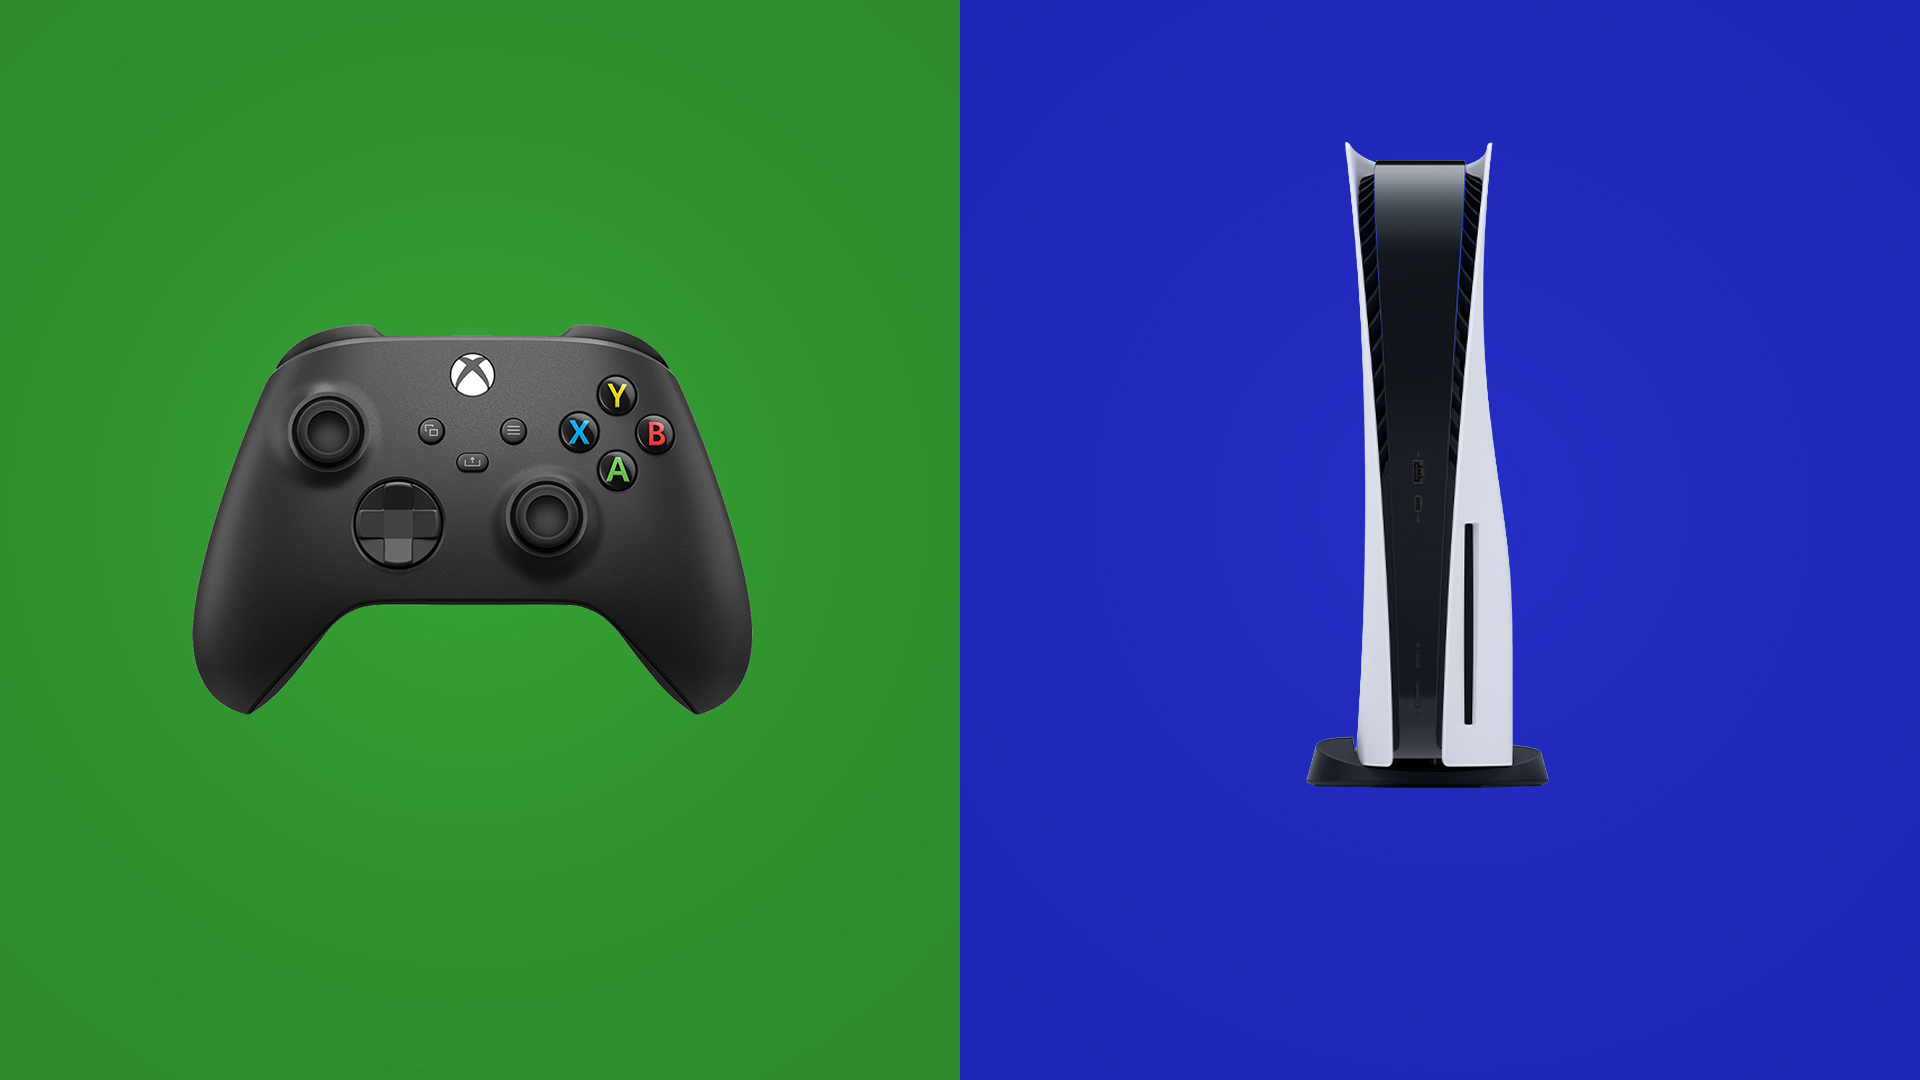
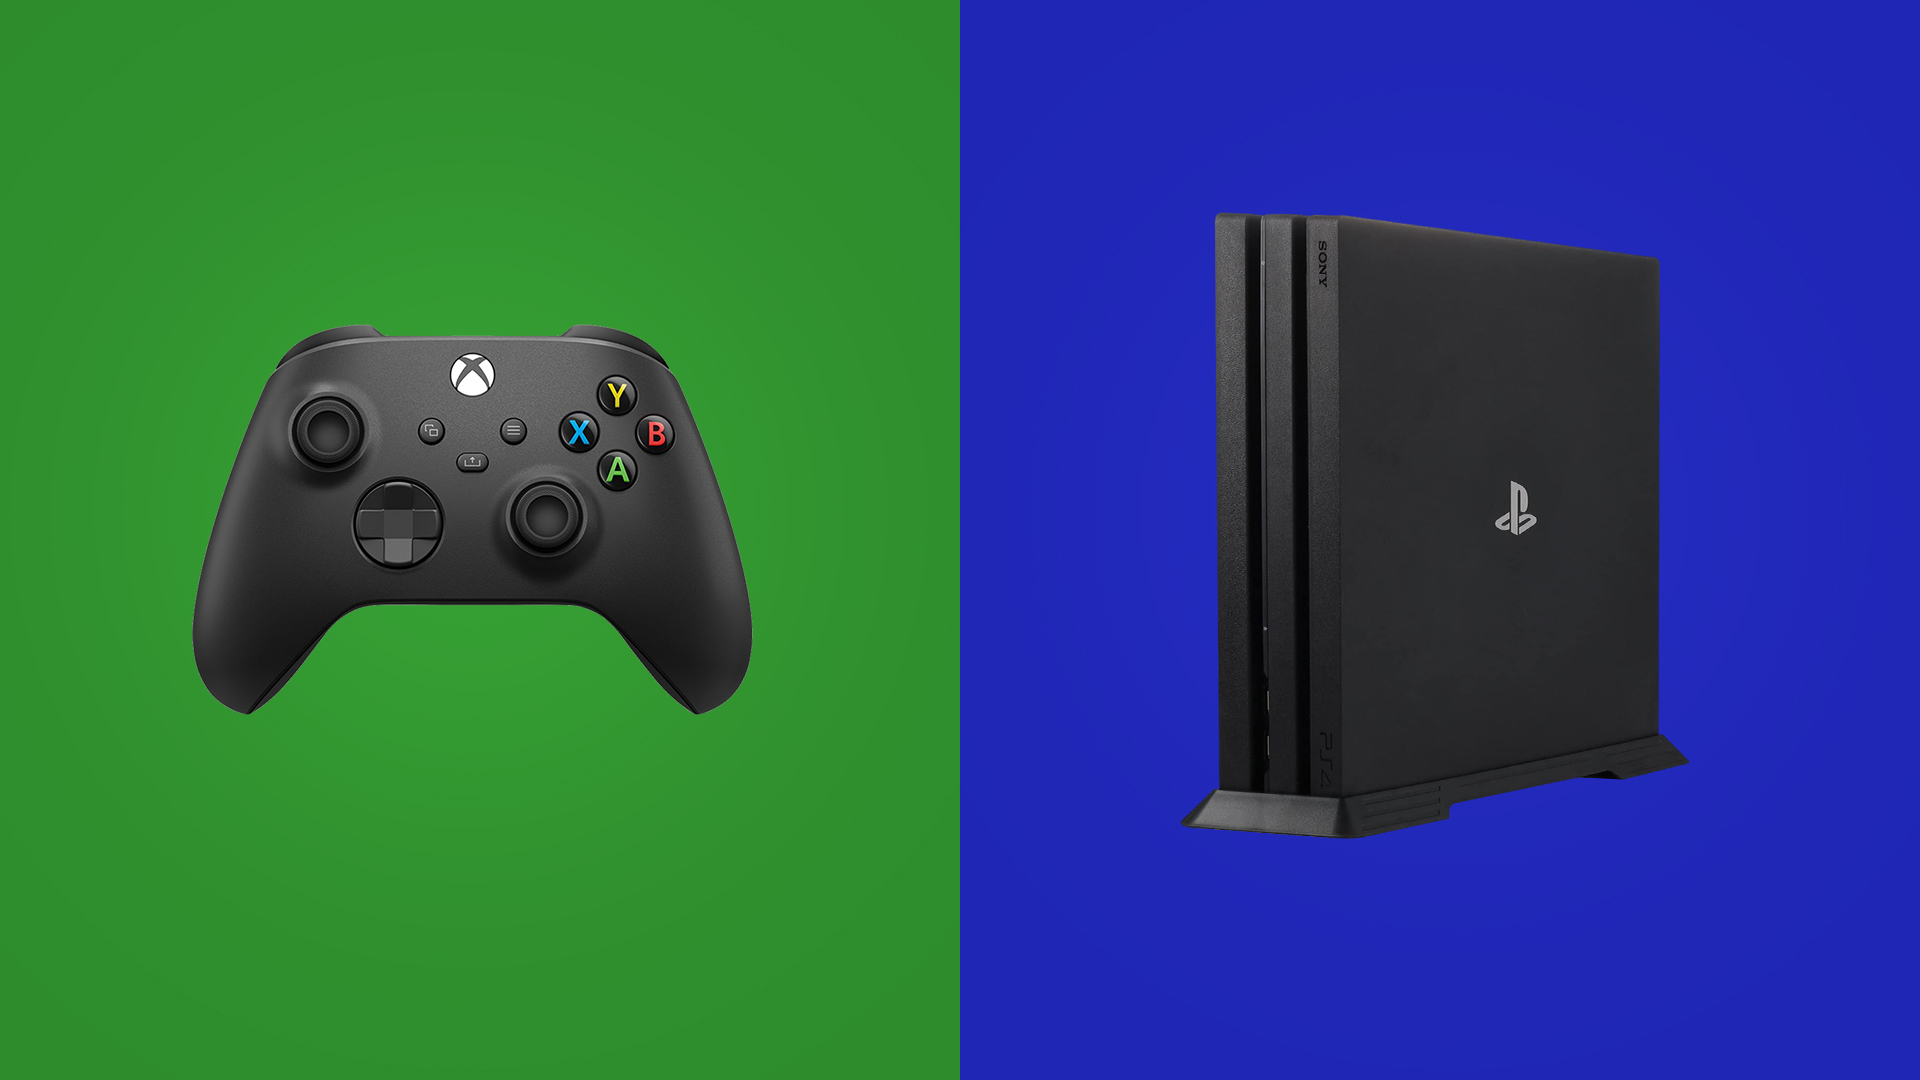
XBOX controller connect to consoles with R100Pro
( When connecting to the Switch console, you need to open”Settings> Controllers and Sensors> Wired Connection of Pro controller”.)
a. Insert the R100 Pro into the console. When the R100 pro indicator flashes, indicating that the adapter has entered the paring mode. And the adapter can be in paring mode by pressing its button again.
b. Long press the HOME button to turn off the controller.
c. Long press the HOME button to turn on the controller and then press the PAIR button for 2 Seconds. When the controller’s indicator flashes quickly, it has entered the paring mode.
d. When the indicators of R100 Pro and the controller is always on, it means that the paring has been successful.
e. Press the HOME button again and the connection is successful.
* It is recommended to repeat the above steps for re-pairing connection every times you use it to ensure the best experience. The re-pairing speed and success rate of XBOX controllers are higher than the reconnecting operation.
* After paring with the R100 Pro. If you want to reconnect to the Xbox Series X|S/ Xbox one console, please refer to the official connection method to reconnect the controller to the console.
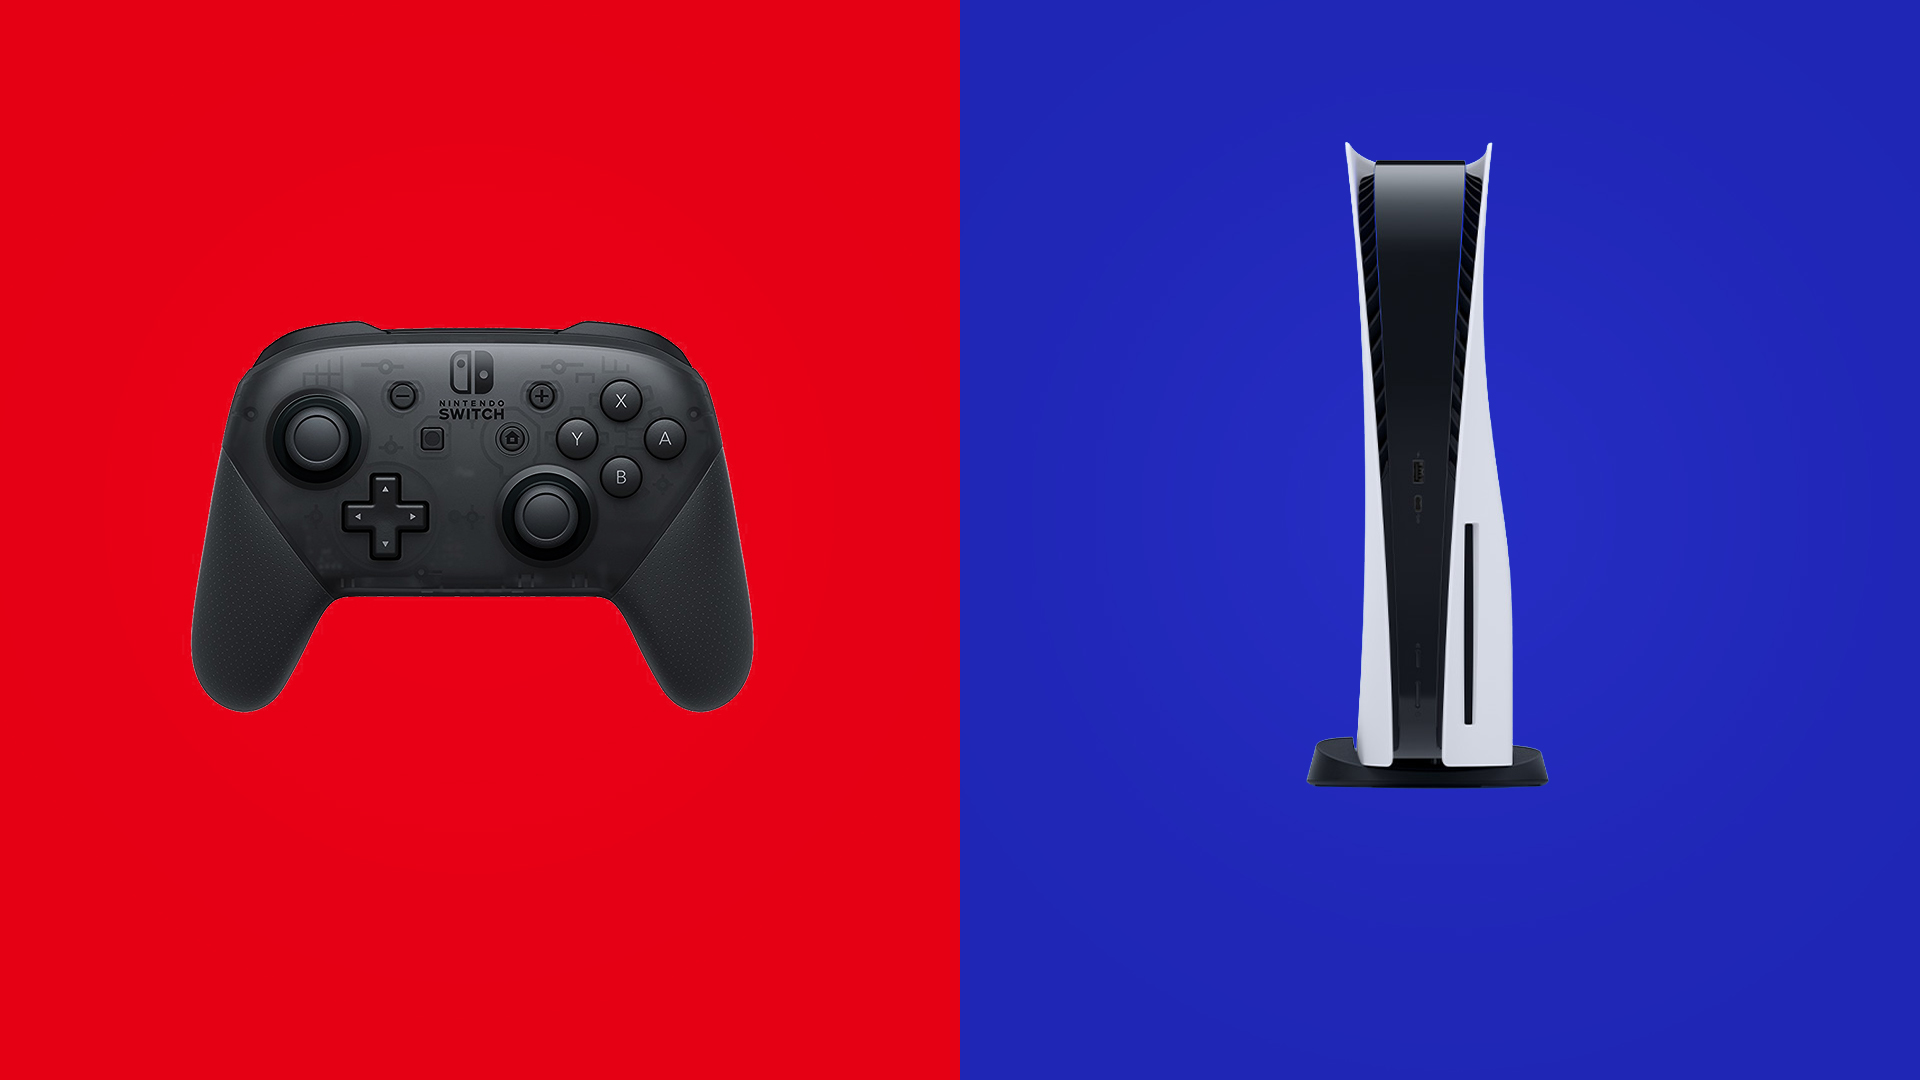
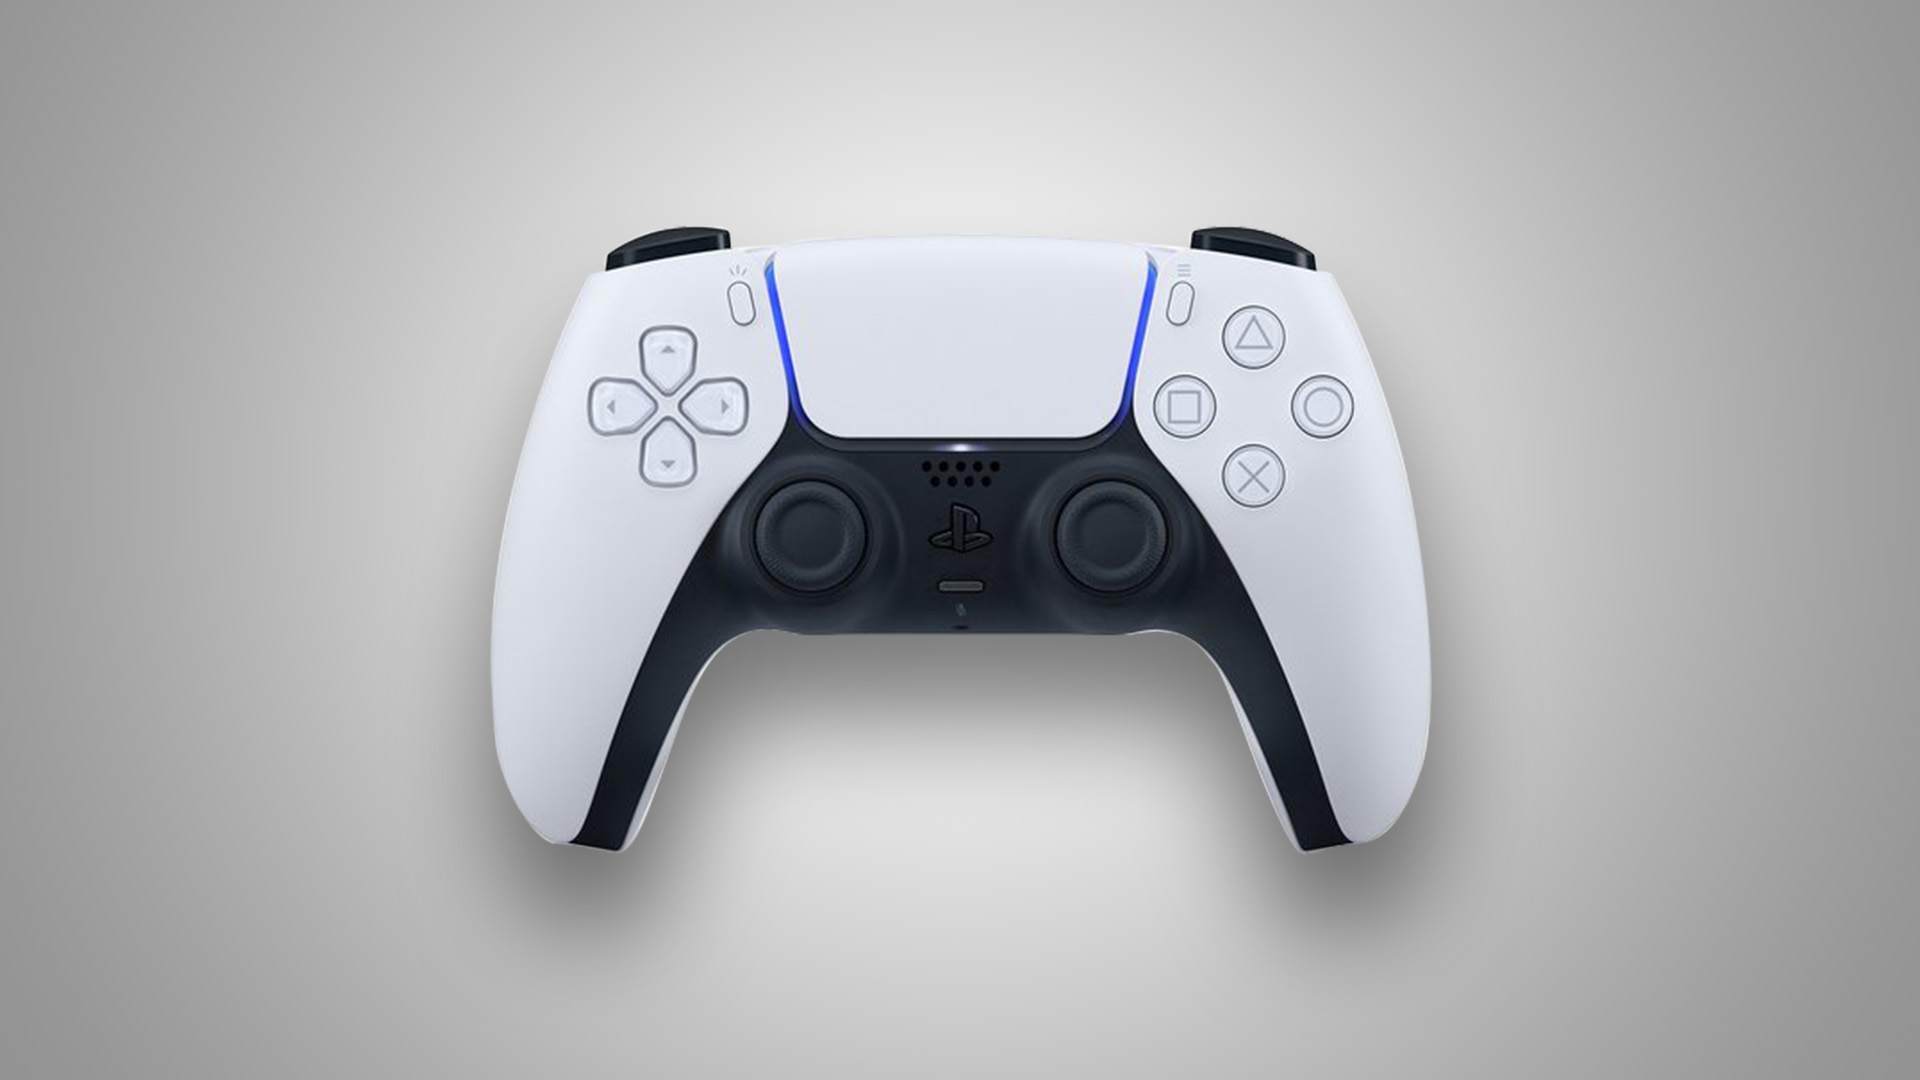
DualSense connect to consoles with R100Pro
DualSense connect to consoles with R100Pro
( When connecting to the Switch console, you need to open” Settings> Controllers and Sensors> Wired Connection of Pro controller”.)
a. Insert the R100 Pro into the console. When the R100 pro indicator flashes, indicating that the adapter has entered the paring mode. And the adapter can be in paring mode by pressing its button again.
b. Making sure the controller is turned off (long press the PS button for 10s to turn it off).
c. Hold the CREAT button first and then press the PS button for 5 seconds. When the controller’s indicator double flashes in blue, it has entered the paring mode.
d. When the indicator of R100 Pro and the controller is always on, and the controller light bar is in blue, it means that the paring has been successful.
e. Press the PS button again and if the controller can work normally on the host, the connection is successful.
* It is recommended to repeat the above steps for re-pairing connection every times you use it to ensure the best experience.
* After paring with the R100 Pro. If you want to reconnect to the PS5 console, please refer to the official connection method to reconnect the controller to the console.
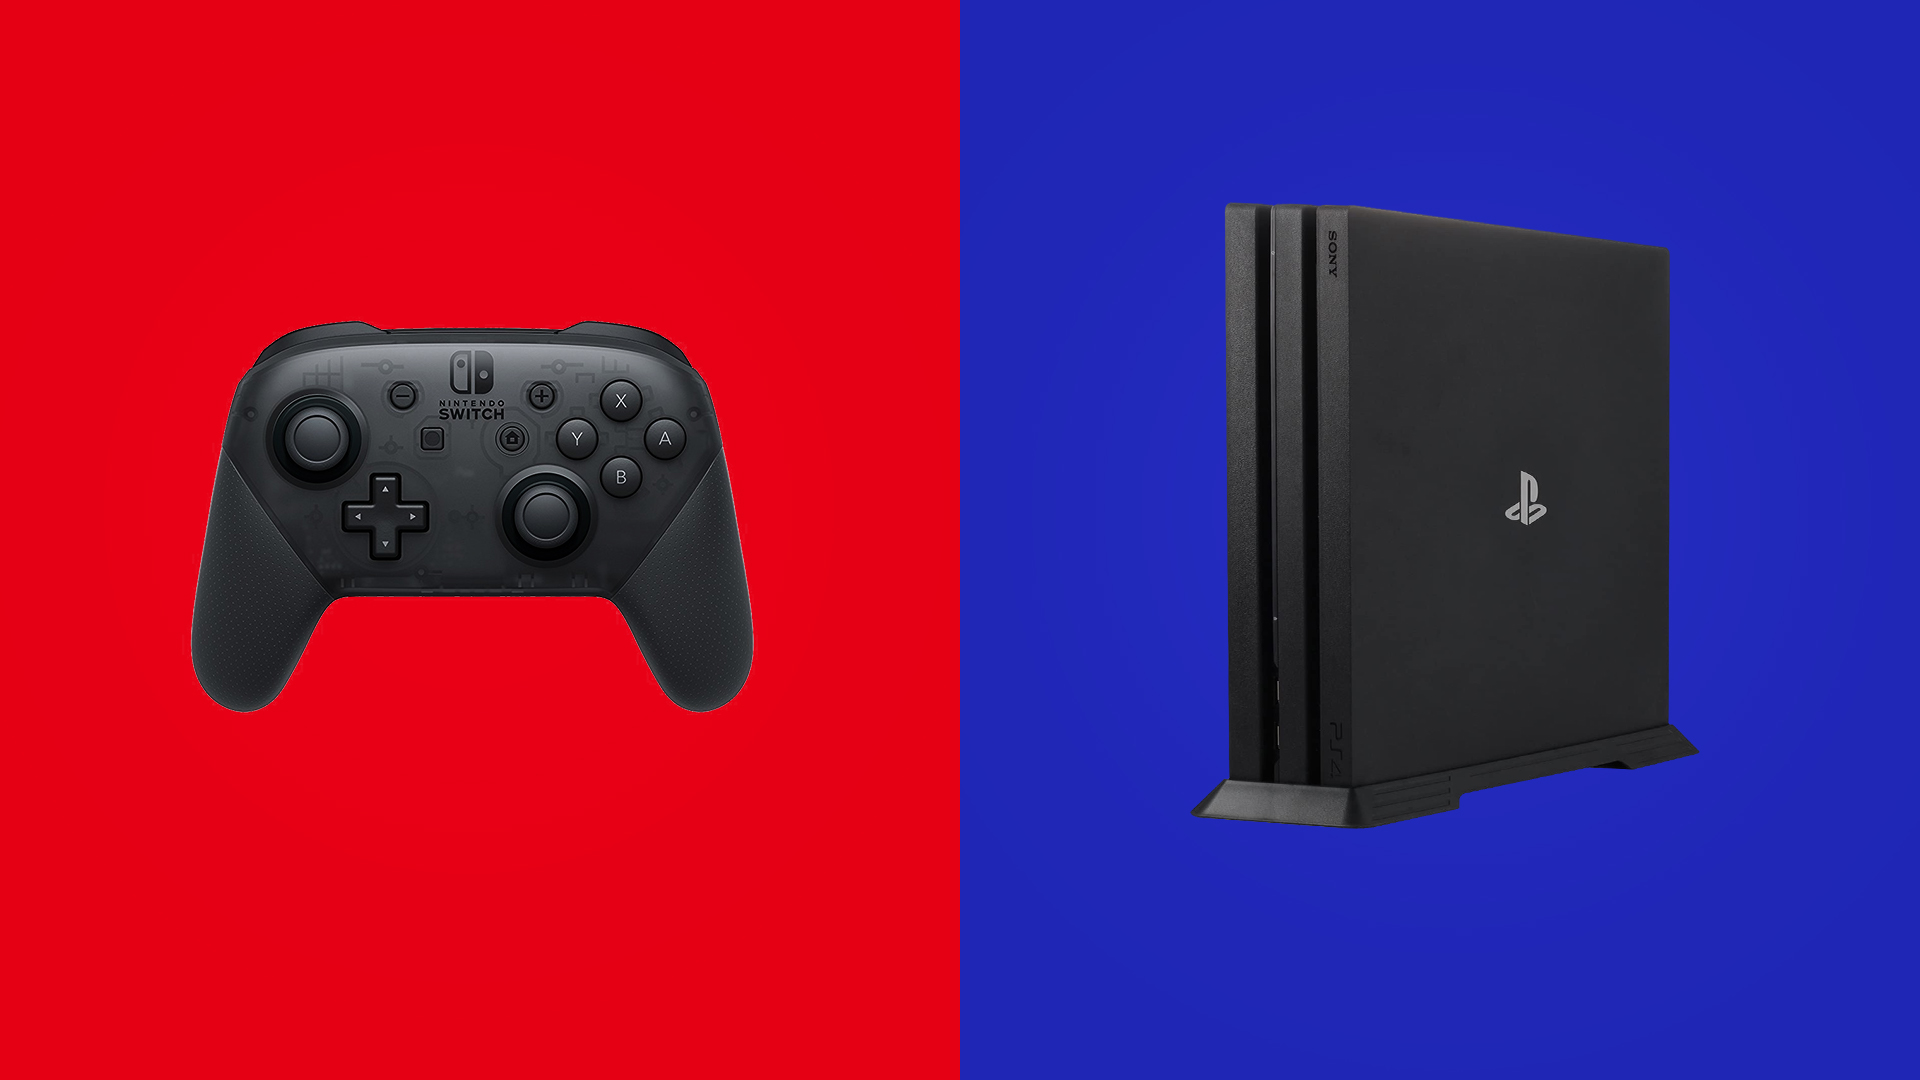
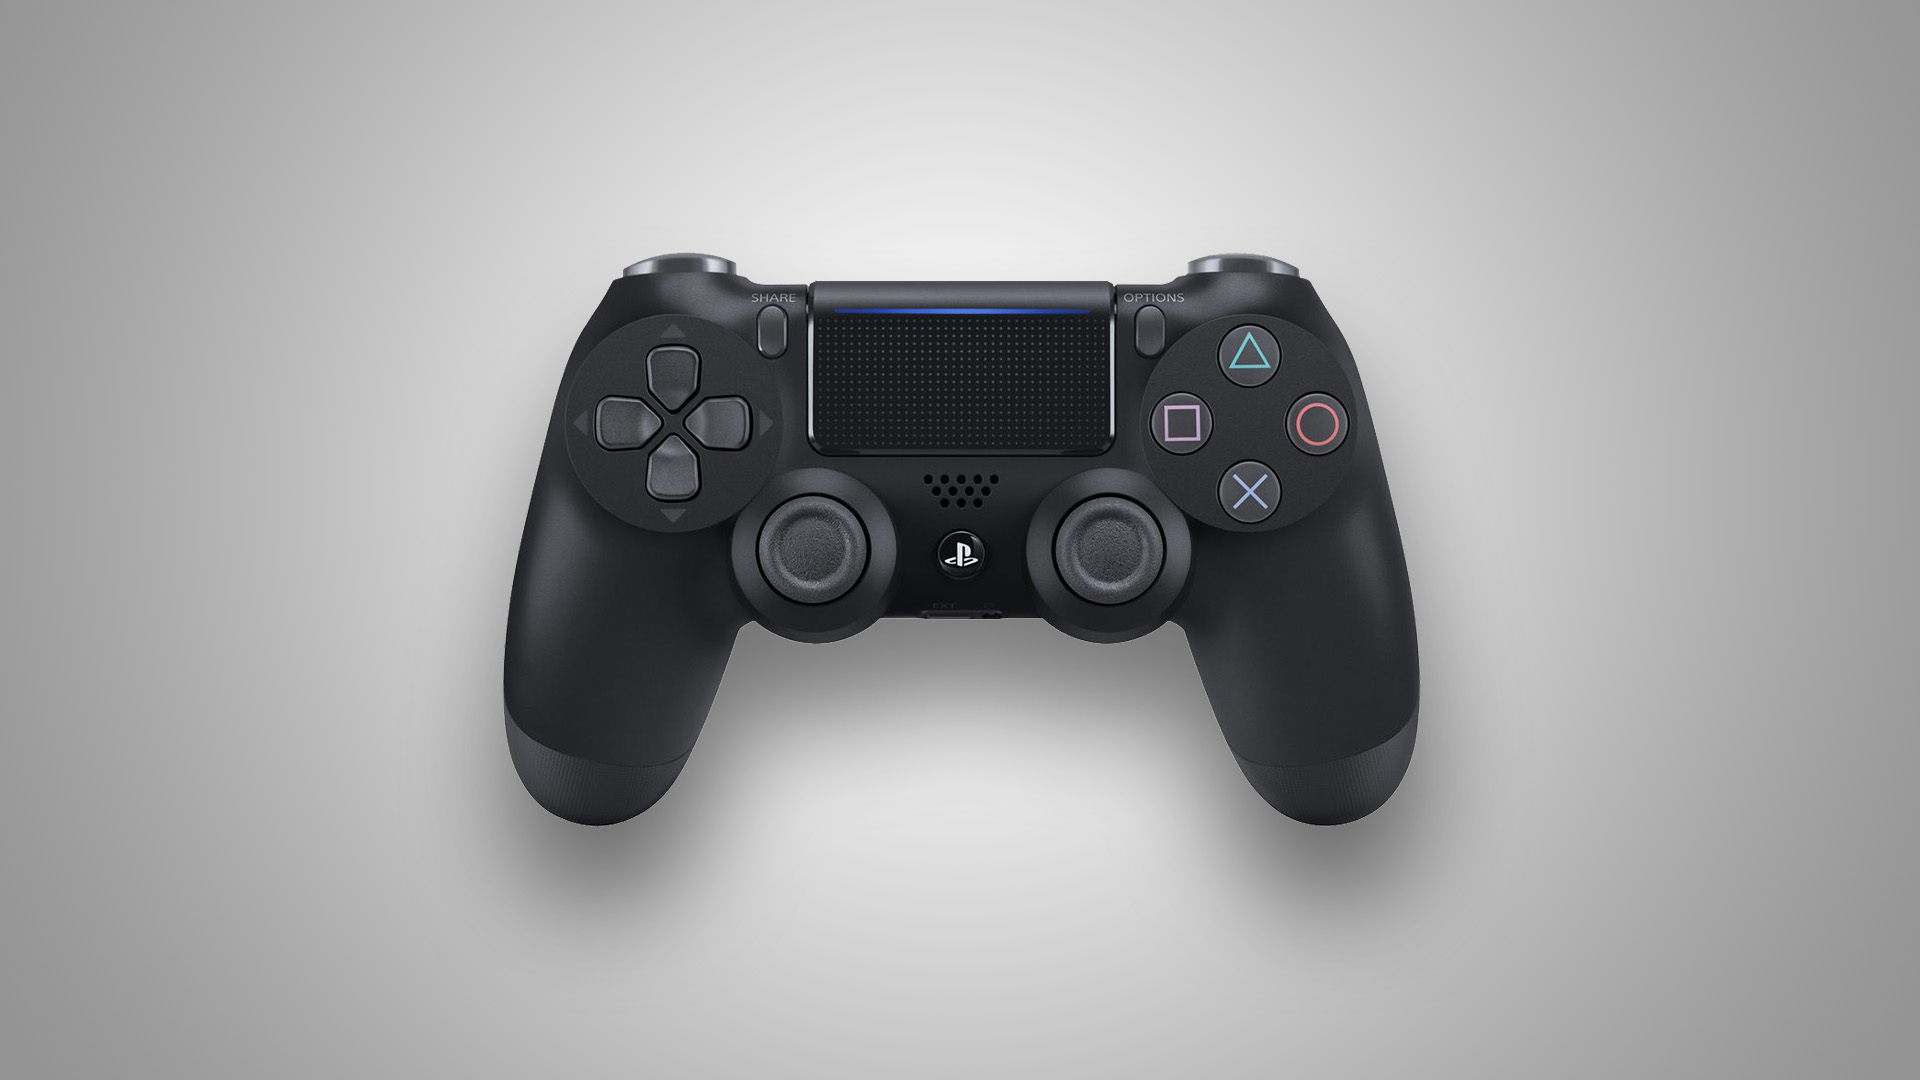
DualShock connect to consoles with R100Pro
DualShock connect to consoles with R100Pro
( When connecting to the Switch console, you need to open”Settings> Controllers and Sensors> Wired Connection of Pro controller”.”)
a. Insert the R100 Pro into the console. When the R100 pro indicator flashes, indicating that the adapter has entered the paring mode. And the adapter can be in paring mode by pressing its button again.
b. Making sure the controller is turned off (long press the PS button for 10s to turn it off).
c. Press and hold the SHARE button first and then press the PS button for 5 seconds. When the controller’s indicator double flashes in white, please stop pressing, the controller has entered the pairing mode.
d. When the indicator of R100 Pro and the controller is always on, and the controller light bar is in purple, it means that the paring has been successful (If the light bar is white, please reconnect till it becomes purple).
e. Press the PS button again and if the controller can work normally on the host, the connect is successful.
* It is recommended to repeat the above steps for re-pairing connection every times you use it to ensure the best experience.
* After paring with the R100 Pro. If you want to reconnect to the PS4 console, please refer to the official connection method to reconnect the controller to the console.
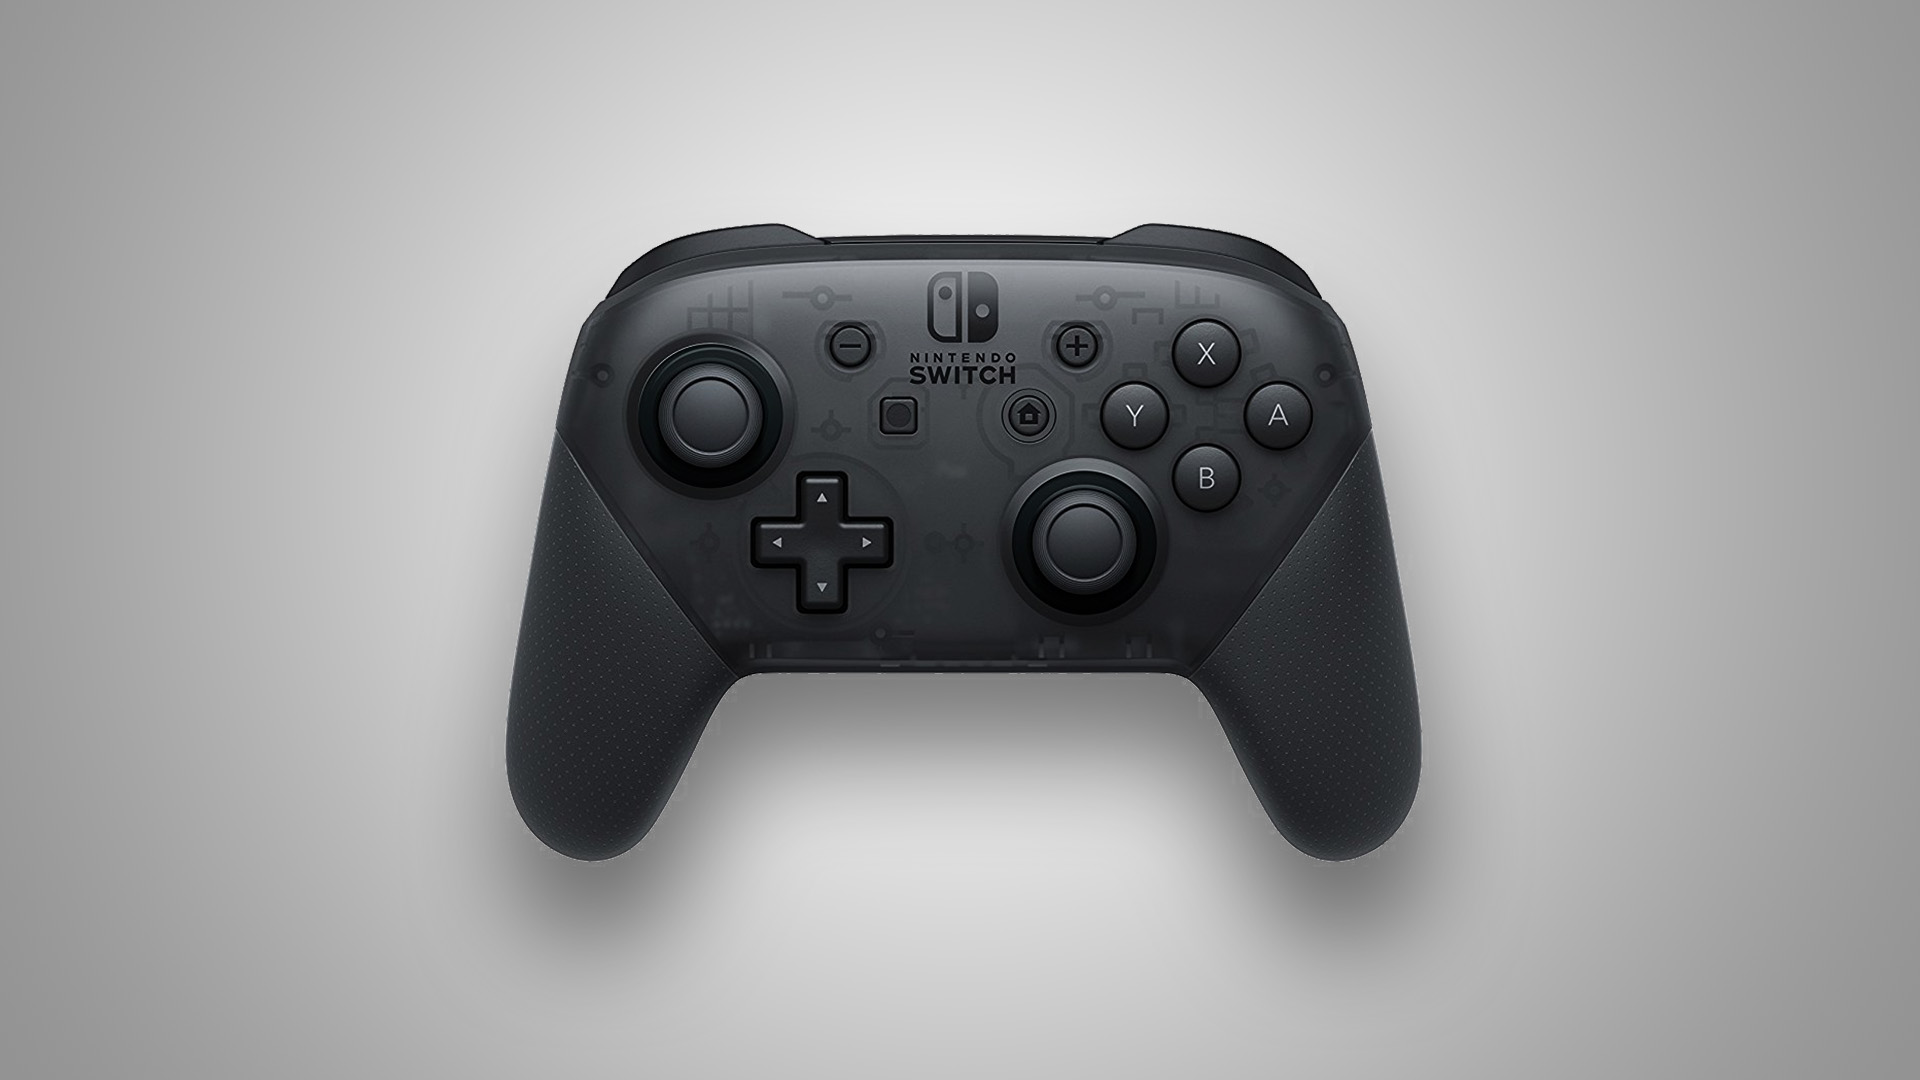
Switch Pro controller connect to consoles with R100Pro
Switch Pro controller connect to consoles with R100Pro
a. Insert the R100 Pro into the console. When the R100 pro indicator flashes, indicating that the adapter has entered the paring mode. And the adapter can be in paring mode by pressing its button again.
b. Press the PAIR button to turn off the pro controller.
c. Press the PAIR button for more than 3 seconds. When the controller’s indicator is in fast circle flashing, it has entered the paring mode.
d. When the indicator of R100 Pro and the controller is always on, and the controller light bar is in blue, it means that the paring has been successful.
e. Press the HOME button again and if the controller can work normally on the host, the connection is successful.
* It is recommended to repeat the above steps for re-pairing connection every times you use it to ensure the best experience.
* *After paring with the R100 Pro. If you want to reconnect to the Switch console, please refer to the official connection method to reconnect the controller to the console.
How to calibrate the joystick after connecting to the consoles via R100pro
How to adjust the vibration after connecting to the consoles via R100pro
How to update the firmware of R100Pro
How to update the firmware of R100Pro
a. Hold the button on the R100 pro adapter and insert it into the USB port of the PC. The indicator light will be always on, and it enters the upgrade mode.
b. Open the storage disk named “R100Pro” in the “Devices and Drives” of the PC.
c. Unzip the downloaded upgrade package, then drag the “firmware” file into the “R100Pro” disc, the following dialog box will pop up.
d. Click “Replace files in target (R)” to upgrade.
e. Upgrading,When it is 100% complete, the upgrade progress box above will be closed, and the file replacement is successful.
f. Right-click the disk of “R100 Pro” and click “Eject” to unplug the R100 Pro and the upgrade is complete.
* Note: If you want to check the firmware version, you need to press and hold the button on the R100 Pro adapter again. Insert it into the USB port of the PC, the indicator light is always on and it has entered the upgrade mode. Double-click to open the ” info” document in the “R100 Pro” , then you can check the firmware version.