Armor-X Pro
01 ARMORX Pro: Basic Tutorial
1. Attachment of ARMORX & ARMORX Pro: Attach by the battery compartment of the Xbox Series controller.
2. Before attachment: Remove the battery compartment cover and battery of the Xbox Series controller.
3. Attach method 1: Attach the main body first.
- Slide the ARMORX into battery compartment.
- Plug the USB-C flexible cable of ARMORX into the USB port of Xbox Series controller.
4. Attach method 2: Attach the USB-C flexible cable first.
- Plug the USB-C flexible cable of ARMORX into the USB port of Xbox Series controller.
- Slide the ARMORX into battery compartment.
5. Disassemble: Slide out the main body then pull out USB-C flexible cable.
- Slide out the ARMORX as battery cover.
- Pull out the USB-C flexible cable of ARMORX.
Notice: Because the plug of the flexible cable is 90 degrees and tight. It is hard to pull out flexible cable first. So we recommend you take out the main body first.
1. After using ARMORX back button the Xbox Series controller can not connect to the console as normal.
2. The connect method becomes to hold the power button of ARMORX for 3 seconds, The LED1, LED2 and indicator of the controller will always on.
3. ARMORX has two indicators the LED1 on the left shows the connective to ARMORX wireless adapter. The LED2 on the right shows the connective to Xbox Series controller. Blink means disconnective and always on means connecting successfully.
1、The wireless adapter is automatically paired, in the normal situation you do not need to pair it yourself.
2、After connecting successfully: The indicator of wireless adapter and the LED1 of ARMORX will be always on.
3、Why we called it wireless adapter instead of dongle. The answer is it has multi-platform connectivity so “adapter” is more appropriate.
Before Connect to the console:
Follow the attachment step from Basic Tutorial 01: the attachment and disassemble of ARMORX & ARMORX Pro.
Connect to PC, Xbox Series, Xbox One console:
Plug the adapter into the console’s USB port and the connection will automatically succeed.
- Plug the wireless adapter into the USB port of the consoles (For a better signal, we highly recommend you plug the adapter into the front panel).
- After the wireless adapter connects to ARMORX the LED1 of ARMORX will be always on and the indicator of wireless adapter will be always on with orange.
- Press the home button of Xbox Series controller and the connection is done.
Before Connect to the console:
- Follow the attachment step from Basic Tutorial 01: the attachment and disassemble of ARMORX & ARMORX Pro.
- Waiting wireless adapter: the left LED1 of ARMORX will blink.
- Switch need to set: System Settings> Controllers and Sensors> Pro Controller Wired Communication On.
* The connection will failed if not open this setting, because for the Switch the ARMORX is a wired controller.
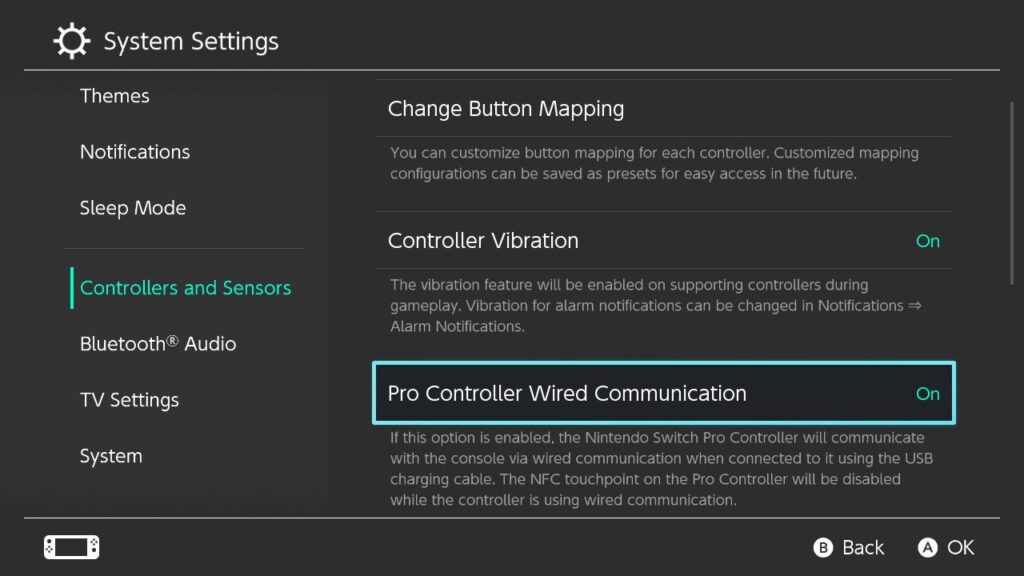
Connect to Switch console: Plug the adapter into the console’s USB port and the connection will automatically succeed.Why the indicator of wireless adapter changes with platform
- Plug the wireless adapter into the Switch. We recommend you use ARMORX under TV mode. If you want to use it under handheld mode please prepare an OTG cable.
- After the wireless adapter connects to ARMORX the LED1 of ARMORX will be always on and the indicator of wireless adapter will be always on with red.
- Press the home button of Xbox Series controller and the connection is done.
Why the indicator of wireless adapter changes with platform
- The indicator of wireless adapter will identify the console and the color of indicator shows the working mode.
- PC, Xbox mode: Orange Switch mode: Red PlayStation mode: Blue
- If the indicator shows white it means the adapter can not identify the console need to replug.
Before Connect to the console:
- Follow the attachment step from Basic Tutorial 01: the attachment and disassemble of ARMORX & ARMORX Pro.
- Waiting wireless adapter: the left LED1 of ARMORX will blink.
- Connect the PS4 controller to the bottom of wireless adapter with a C to A USB cable.
*Notice: The ARMORX uses HYBRIDto EXPANDED CONNECTIVITY TECHNOLOGY to support the PS4 platform. The PS4 original controller is a must-need.
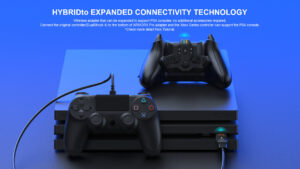
Connect to PS4 console: Plug the adapter into the console’s USB port and the connection will automatically succeed
- Plug the wireless adapter into the USB port of the consoles (For a better signal, we highly recommend you plug the adapter into the front panel).
- After the wireless adapter connects to ARMORX the LED1 of ARMORX will be always on and the indicator of wireless adapter will be always on with blue.
- Press the home button of Xbox Series controller and the connection is done.
Why the indicator of wireless adapter changes with platform
- The indicator of wireless adapter will identify the console and the color of indicator shows the working mode.
- PC, Xbox mode: Orange Switch mode: Red PlayStation mode: Blue
- If the indicator shows white it means the adapter can not identify the console need to replug.
Before Remap
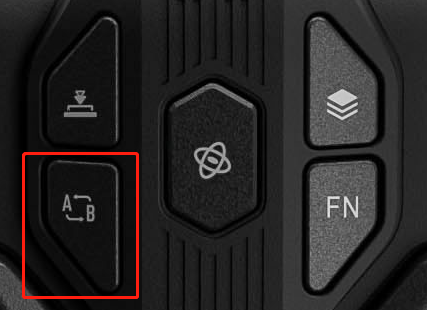
- Mapping Button: The main part of ARMORX has 5 setting buttons the button with AB words is Mapping Button.
- Prepare: Connect to the console successfully.
- The buttons support remap: M1/M2/M3/M4.
- Assignable buttons: ABXY, D-pad, LB/RB/LT/RT, M1-M4, LS/RS, view button, menu button, and Screen Shot button.
- The buttons after remap can be pressed at the same time.
- If the button opened TURBO, the key mapping will clear this function.
- If the back button opened the MACRO function the key mapping will clear this function.
The Steps of Remapping
- Enter Mapping mode: Hold mapping button+M1/M2/M3/M4 to enter the mapping mode and LED2 on the right will breathe in green.
- Key Mapping: Press the target button: the LED2 will flash twice.
- Clear one key of back button: Hold the back button needs to be clear and click the mapping button twice. The LED2 will flash twice means clear success.
- Clear all keys of back buttons: Click the mapping button twice and all the back buttons will back to the default setting. The LED2 will flash twice means clear success.
The way to set TURBO
- There is only one way to set the TURBO: by TURBO button.
- The APP can not open TURBO function.
About TURBO

- TURBO button:The main part of ARMORX has 5 setting buttons the button with “
 ” is TURBO Button.
 - Prepare: Connect to the console successfully.
- The keys support TURBO: ABXY,D-pad, LB/RB/LT/RT, M1-M4, LS/RS.
- If the key value of the back button is null the TURBO won’t work.
The steps of setting TURBO
- Set TURBO: Hold the TURBO button+the button need TURBO (You need to release TURBO button once to set other buttons); the LED2 will flash twice in orange+the motor shake for 0.2 seconds.
- Cancel one button’s TURBO: Hold the “TURBO setted button” and double click the TURBO button; the LED2 will flash twice in orange.
- Cancel all buttons’ TURBO: Press twice TURBO button; the LED2 will flash twice in orange.
- Set TURBO frequency: Press FN button+D-pad up down button.
- Three-speed TURBO function: 5 times/s, 10 times/s, 15 times/s.
- Factory setting: 5 times/s.
The way to set MACRO
- Recording on controller.
- Recording on APP(Only ARMORX pro suport APP)
- The APP can not read the MACRO recorded on the controller so for ARMORX player we recommend you record the MACRO on APP.
- The APP can save unlimit MACRO.
About MACRO
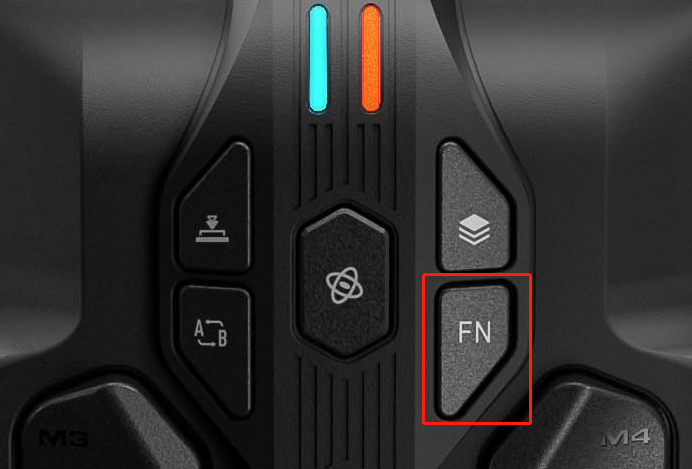
- FN(MACRO) Button: The main part of ARMORX has 5 setting buttons the button with “FN” words is FN Button which controls MACRO.
- Prepare: Connect to the console successfully.
- The buttons support MACRO function: M1/M2/M3/M4.
- The key values support be recorded: ABXY,D-pad, LB/RB/LT/RT, joystick, LS/RS.
- The MACRO function will clear the key value of back buttons.
- Factory setting: The factory setting of M1/M2/M3/M4 is A/B/D-pad up/D-pad right. Only in the first memory profile and the other two profiles are null.
The steps of recording MACRO on controller
- Enter MACRO recording mode:
- Press FN button+MACRO trigger button(one of M1-M4).
- The LED2 on the right side breathes in red and the MACRO recording mode is on.
- One MACRO button can record up to 15 key values(30 frames). The record will end if the key values are full.
- End MACRO recording:
- Press FN button once to end MACRO recording.
- The LED2 on the right side will flash twice.
- Execute MACRO:
- After recording the macro, pressing the back button to execute the MACRO;
- If you press one MACRO button during another MACRO running it will stop the running MACRO and execute the last MACRO.
- Clear one button’s MACRO:
- Hold the back button that you want to clear the MACRO + press twice FN button.
- The LED2 on the right side will flash twice in red.
- Clear all buttons’ MACRO:
- Click FN button twice.
- The LED2 on the right side will flash twice in red.
The steps of recording MACRO on APP
- MACRO recording:
- APP recording do not need enter the MACRO recording mode.
- Connect to the APP and Enter the MACRO editing interface, add macro buttons and set the interval time on the APP.
- Save the MACRO and apply it to the controller.
- You can customize and change the MACRO on the fly.
The way to set on-board profiles
- Setting on controller: Set by combining buttons.
- Setting on APP: Edit the configuration on the APP and apply it on ARMORX pro(Only ARMORX pro support APP).
- Relationship between APP profile and on-board profile:
- The profile set on the controller can not be read to APP.
- The profile set on the APP can be applied to the controller at any time, and override the profile on the controller.
- For ARMORX Pro player we recommend you create and edit profiles on the APP.
- The on-board storage can only save 3 profiles. The APP can save unlimited profiles and you can apply it to the ARMORX Pro in real time.
About on-board profiles

- Profile switch button: The main part of ARMORX has 5 setting buttons the button with “
 “words is Profile switch button Button which controls MACRO.
 - 3 on-board profiles
- The color of LED1 on the left side shows different profiles: orange, green, and blue.
- Factory setting: First profile the LED1 is orange.
- What on-board profiles include:
- Buttons, MACROs, hair trigger, parameters of trigger, parameters of motion control, parameters of joysticks.
- What on-board profiles do not include:
- The switch of TURBO, motion control.
- All modifications on the controller are only saved in the current profile and will not affect the other profiles.
The steps of setting on-board profiles
- Switch on-board profiles:
- Click profile switch button once. Each click only switch once.
- The LED1 light is orange-red, green, and blue in sequence.
- Restore default configuration: Hold profile switch button
 for 3 seconds. The LED1 flashes in its current color.
About charging
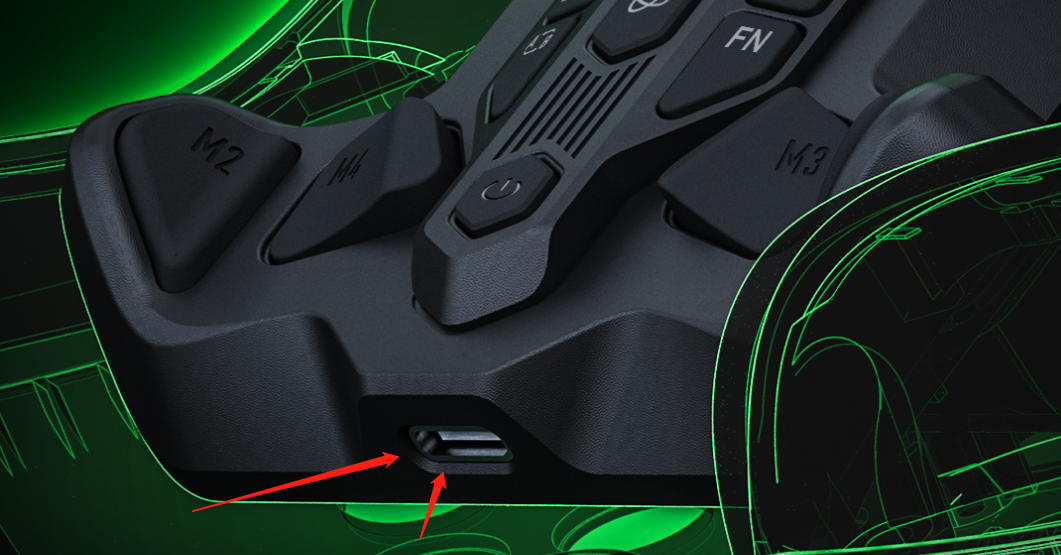
- ARMORX has a Type-C port.
- Recommend to use 5V1A charger.
- The charging current is about 500-800mAh.
02 ARMORX Pro: Advanced Tutorial
What is Hair Trigger:
- Software Hair Trigger means you can activate the trigger anywhere the distance of the trigger. e.g. You can activate the shoot action even in the middle of the trigger.
- Without trigger stop-switches.
How to open and close:
- The only way to open ARMORX Pro Hair Trigger: Open in the APP, at the bottom of trigger page.(only for ARMORX pro)
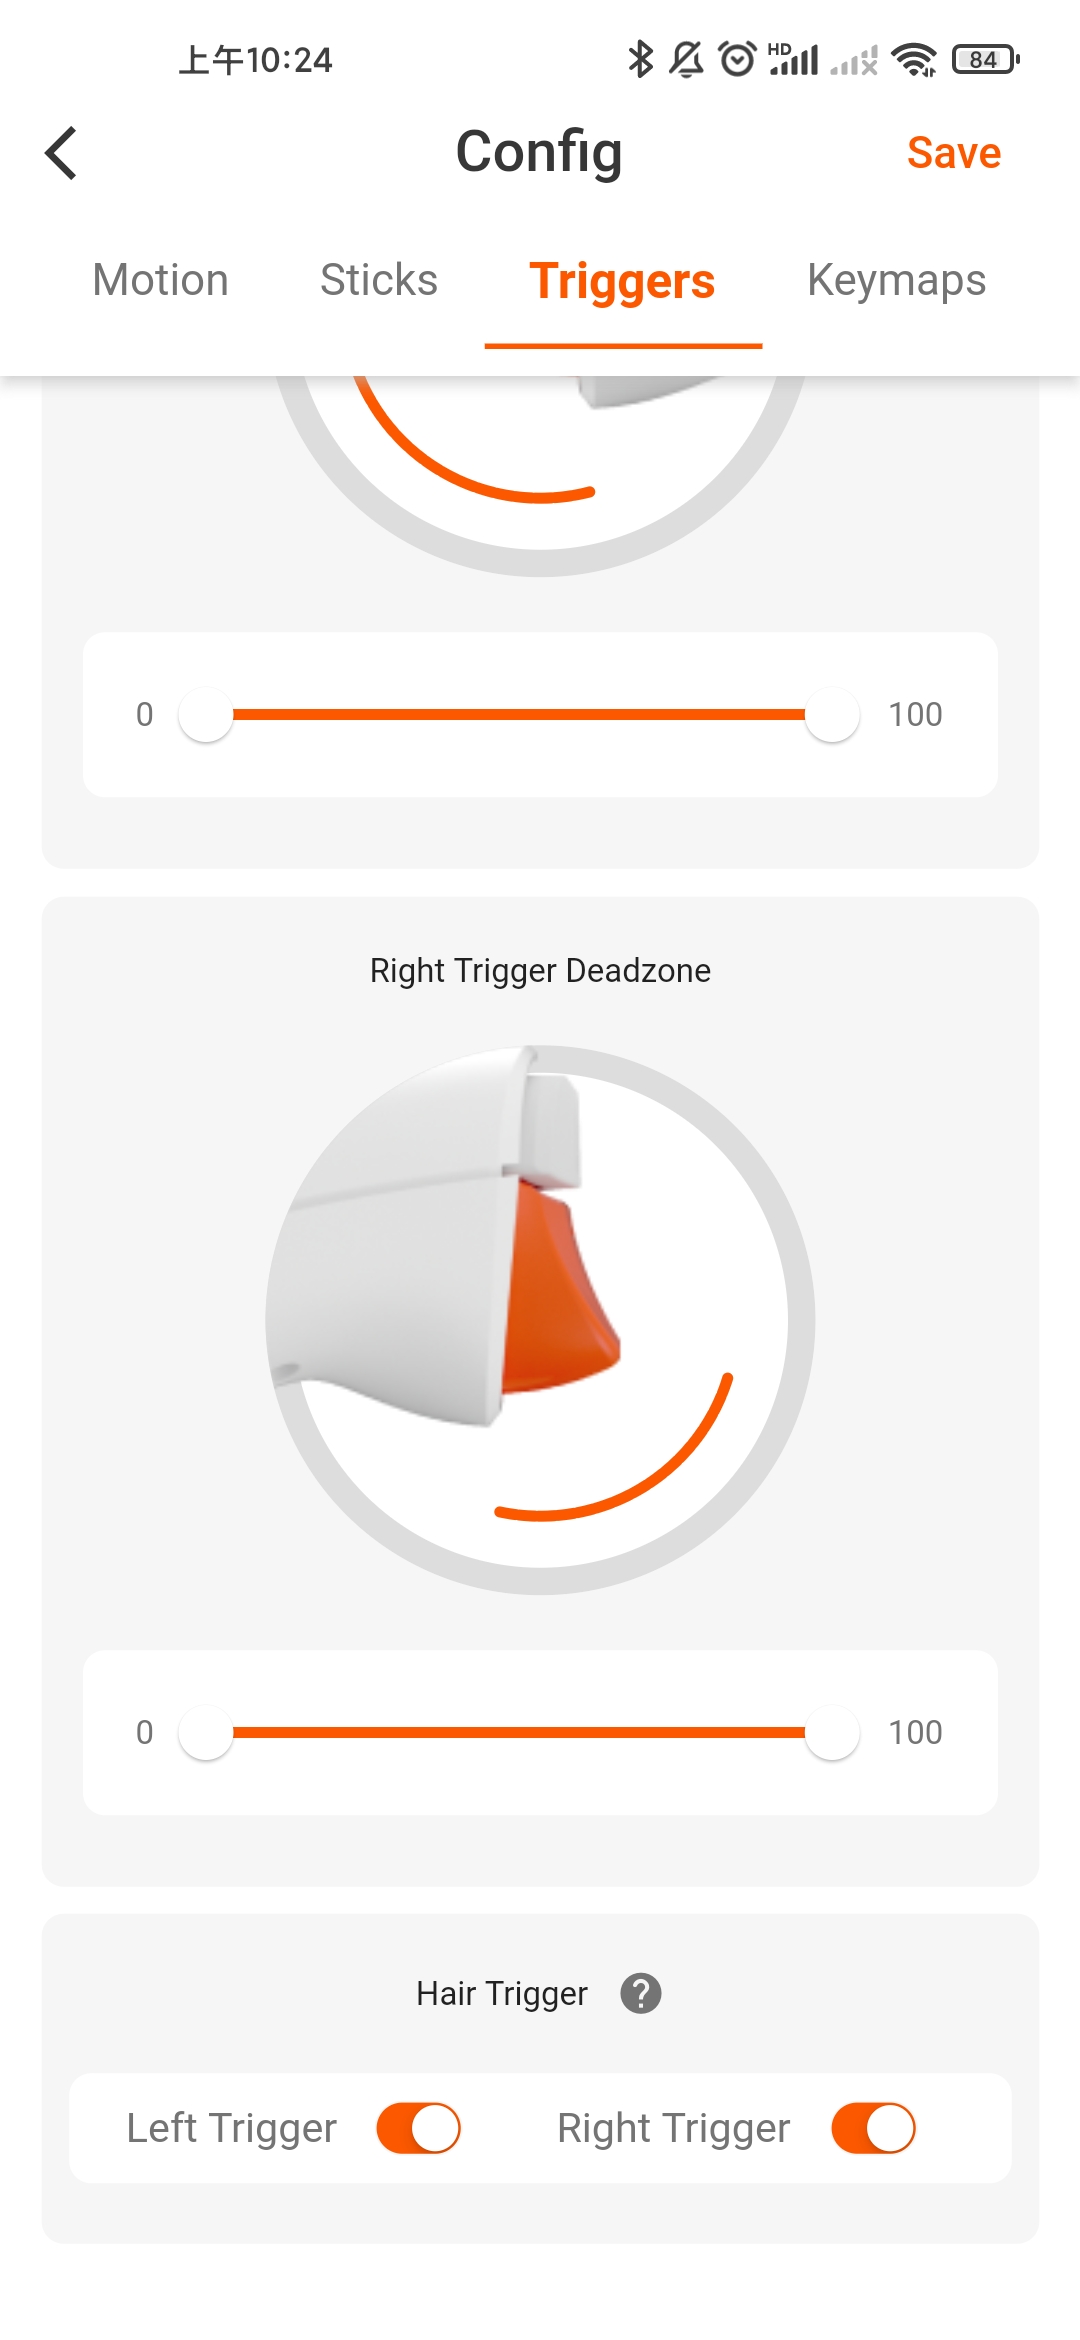
- The only way to open ARMORX Hair Trigger::
Hair trigger button open.(only for ARMORX)
How to adjust the deadzone of joystick?
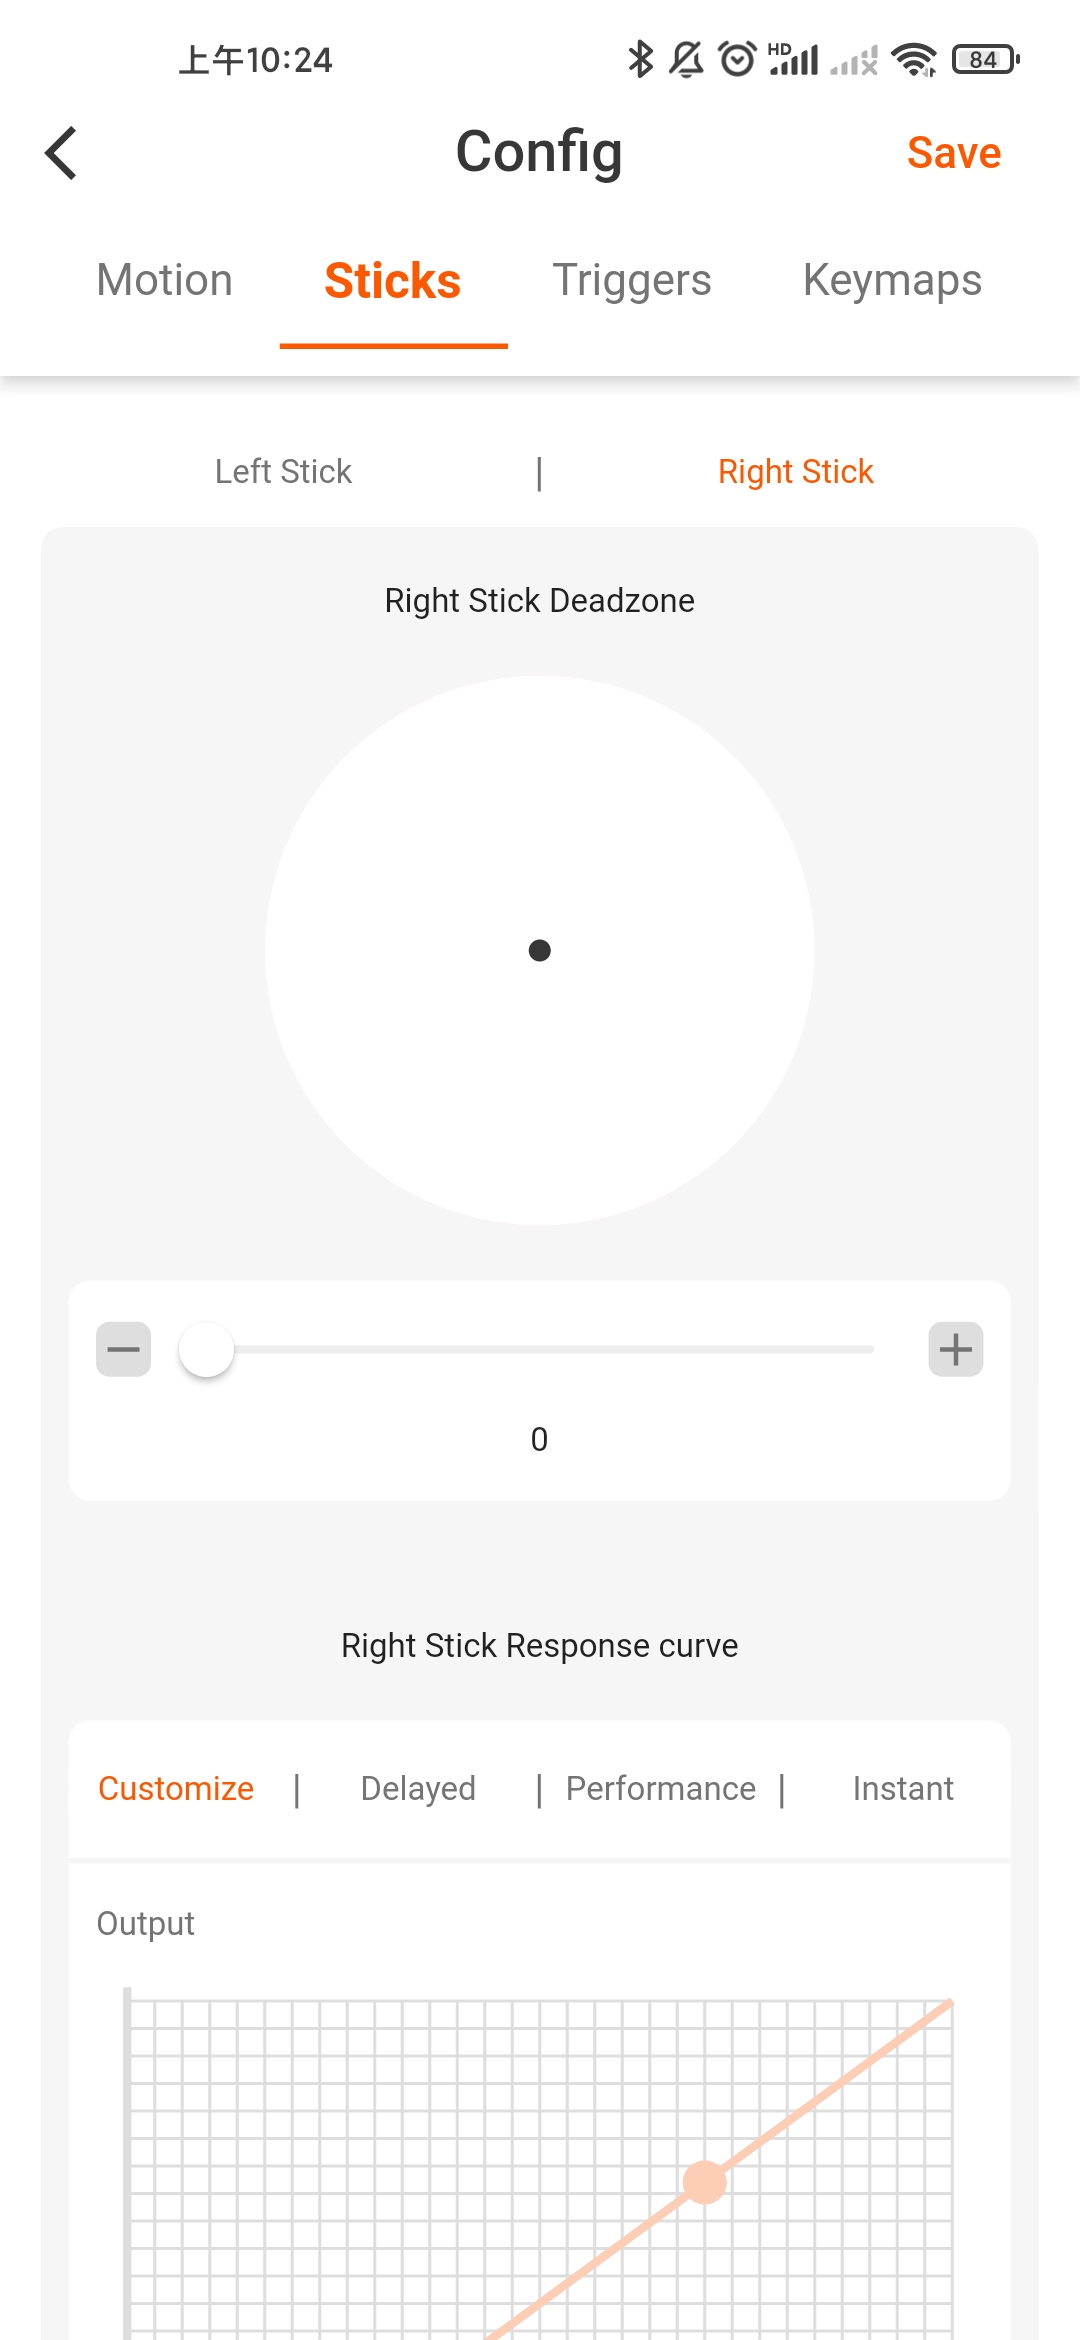
- The default set of center deadzone is 0 as same as Xbox Series controller.
- If you need to set the dead zone, you need to enter the APP to set the center dead zone of the joystick, and you can set any value from 0 to 100.
About motor
- The vibration intensity defaults to the highest level.
- Support adjustment of all 4 rumble motors’ vibration intensity.
- The vibration intensity is 100%, 70%, 40%, 0.
How to adjust the vibration intensity of the large motor
- Adjustment method: FN button + D-pad-right button combination: 4 gears vibration intensity can be changed cyclically: strong, medium, weak, no.
- The controller will vibrate when adjusting vibration.
How to adjust the vibration intensity of the tiny motor
- Adjustment method: FN button + D-pad-left button combination: 4 gears vibration intensity can be changed cyclically: strong, medium, weak, no.
- The controller will vibrate when adjusting vibration.
03 ARMORX Pro: APP Tutorial
1.APP download link: https://www.bigbigwon.com/support/controller/armorx-pro-app
2.Android and iOS are available for download.
3.The APP does not have the firmware update function. The firmware update need to download the PC tool, Download link:
Prepare:
- Download and install the BIGBIG WON ELITE APP
- Open bluetooth of your mobile.
Allow the must need permission:
1. Please allow BIGBIG WON ELITE get the location permission. Make sure to allow it!!!
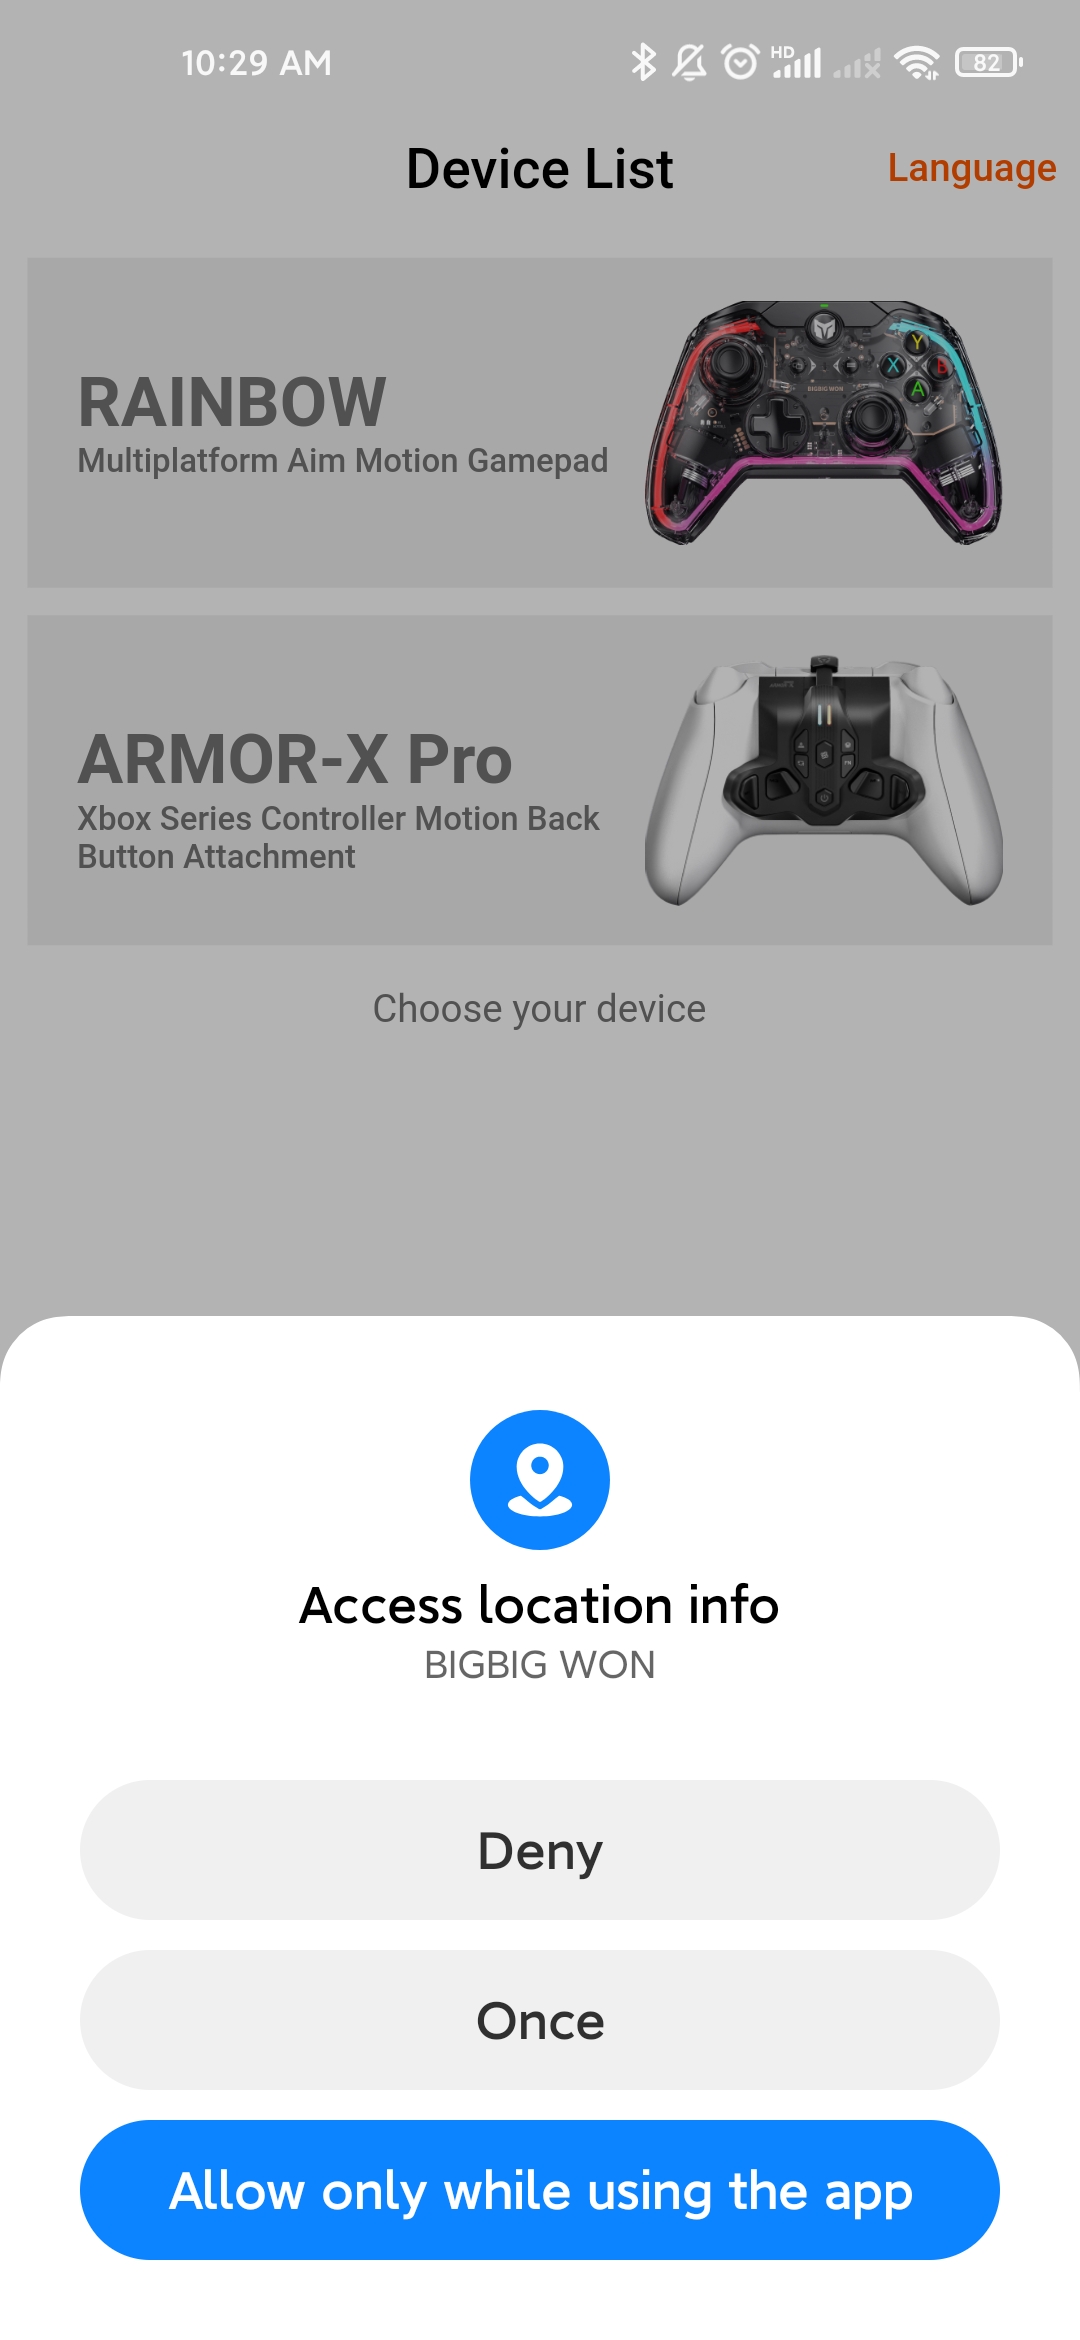
2. If it is denied, the APP will not be able to acquire Bluetooth, Be sure to Allow the location permission settings. If you missed the permission menu and don’t know how to operate. Please delete the APP and reinstall it, and click “Allow” when the permission menu appears.
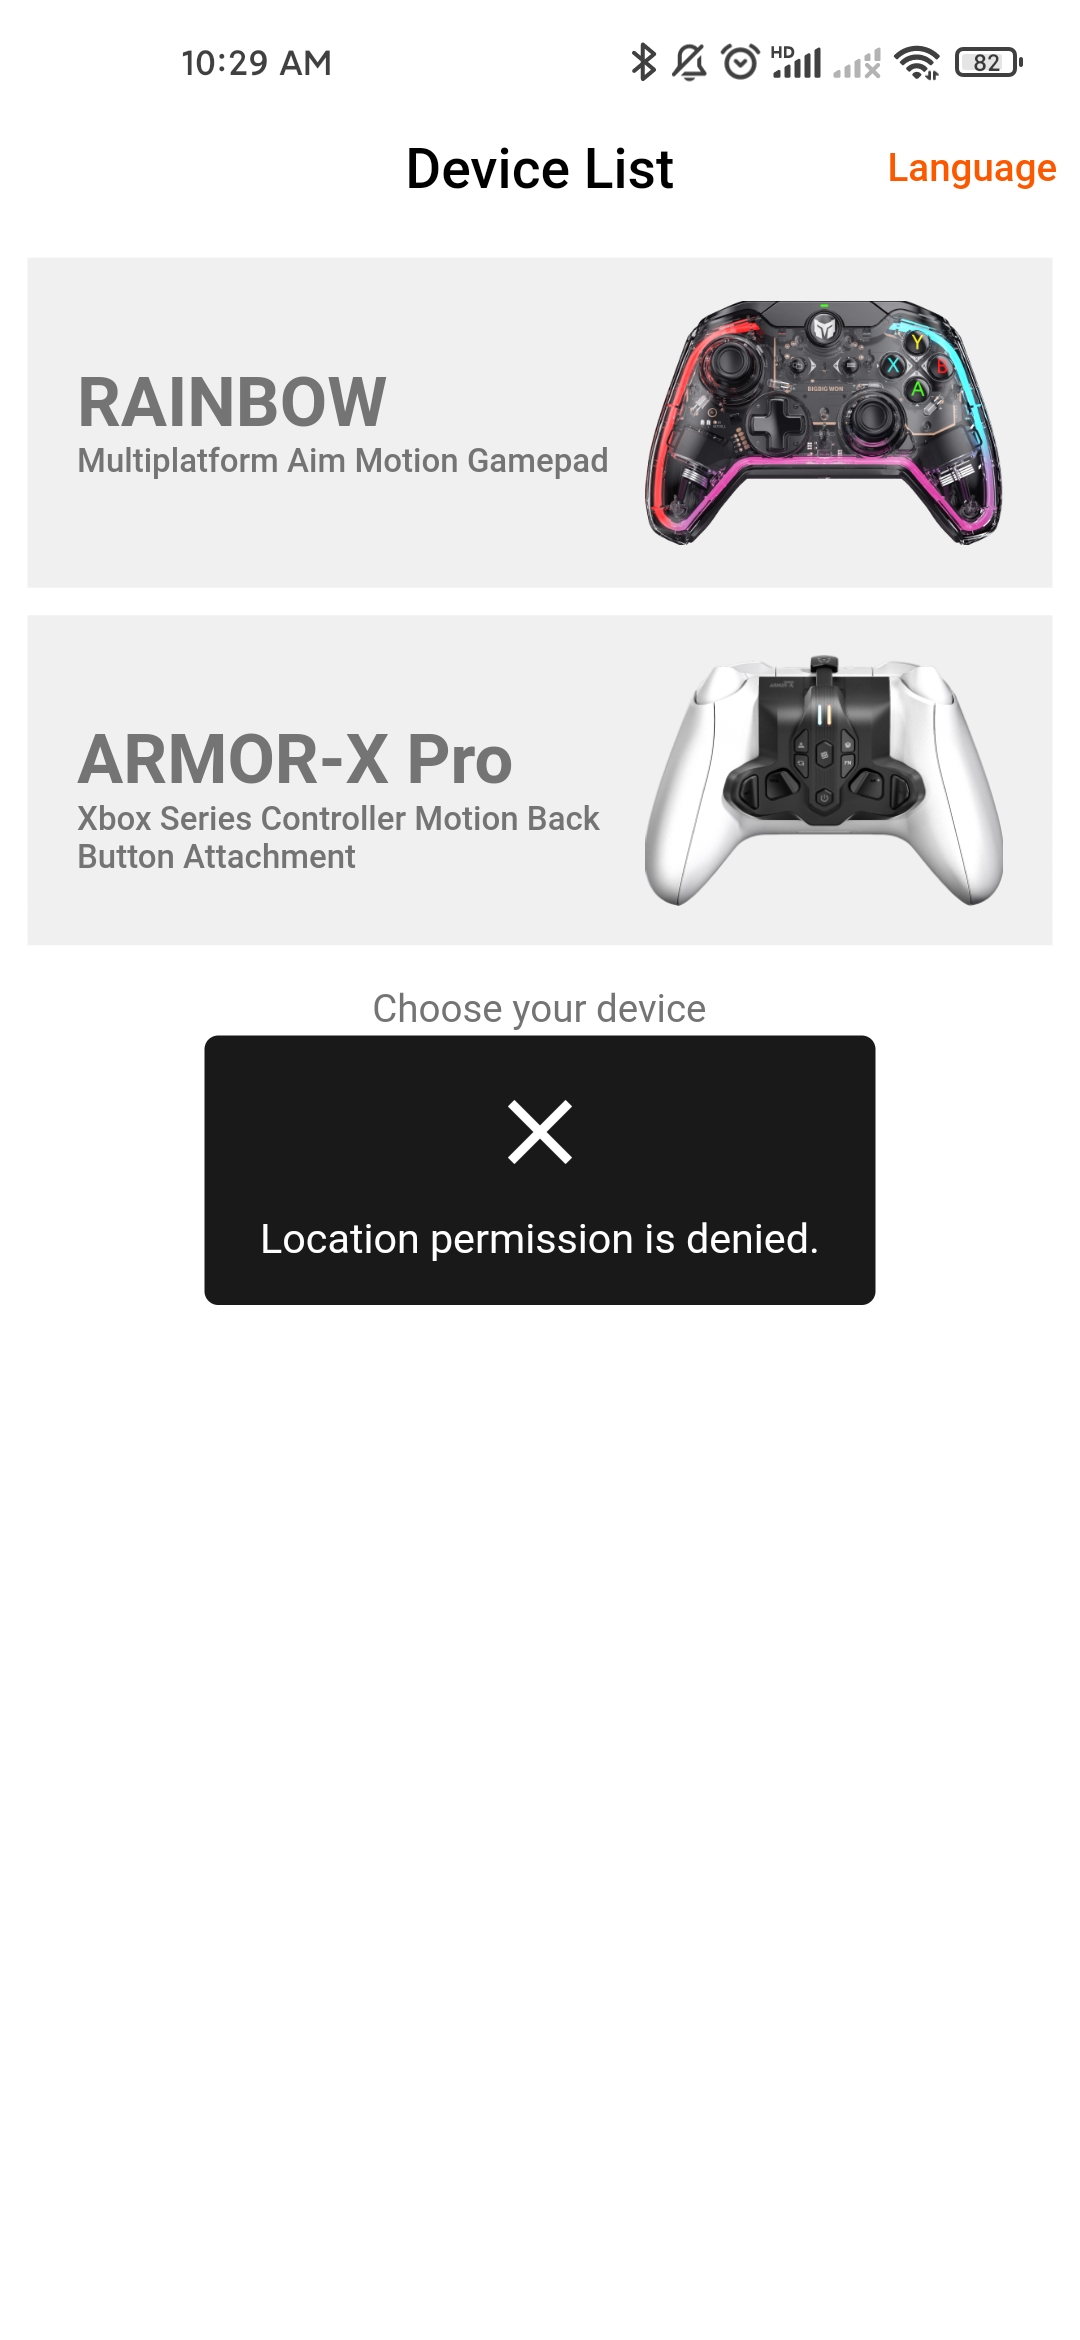
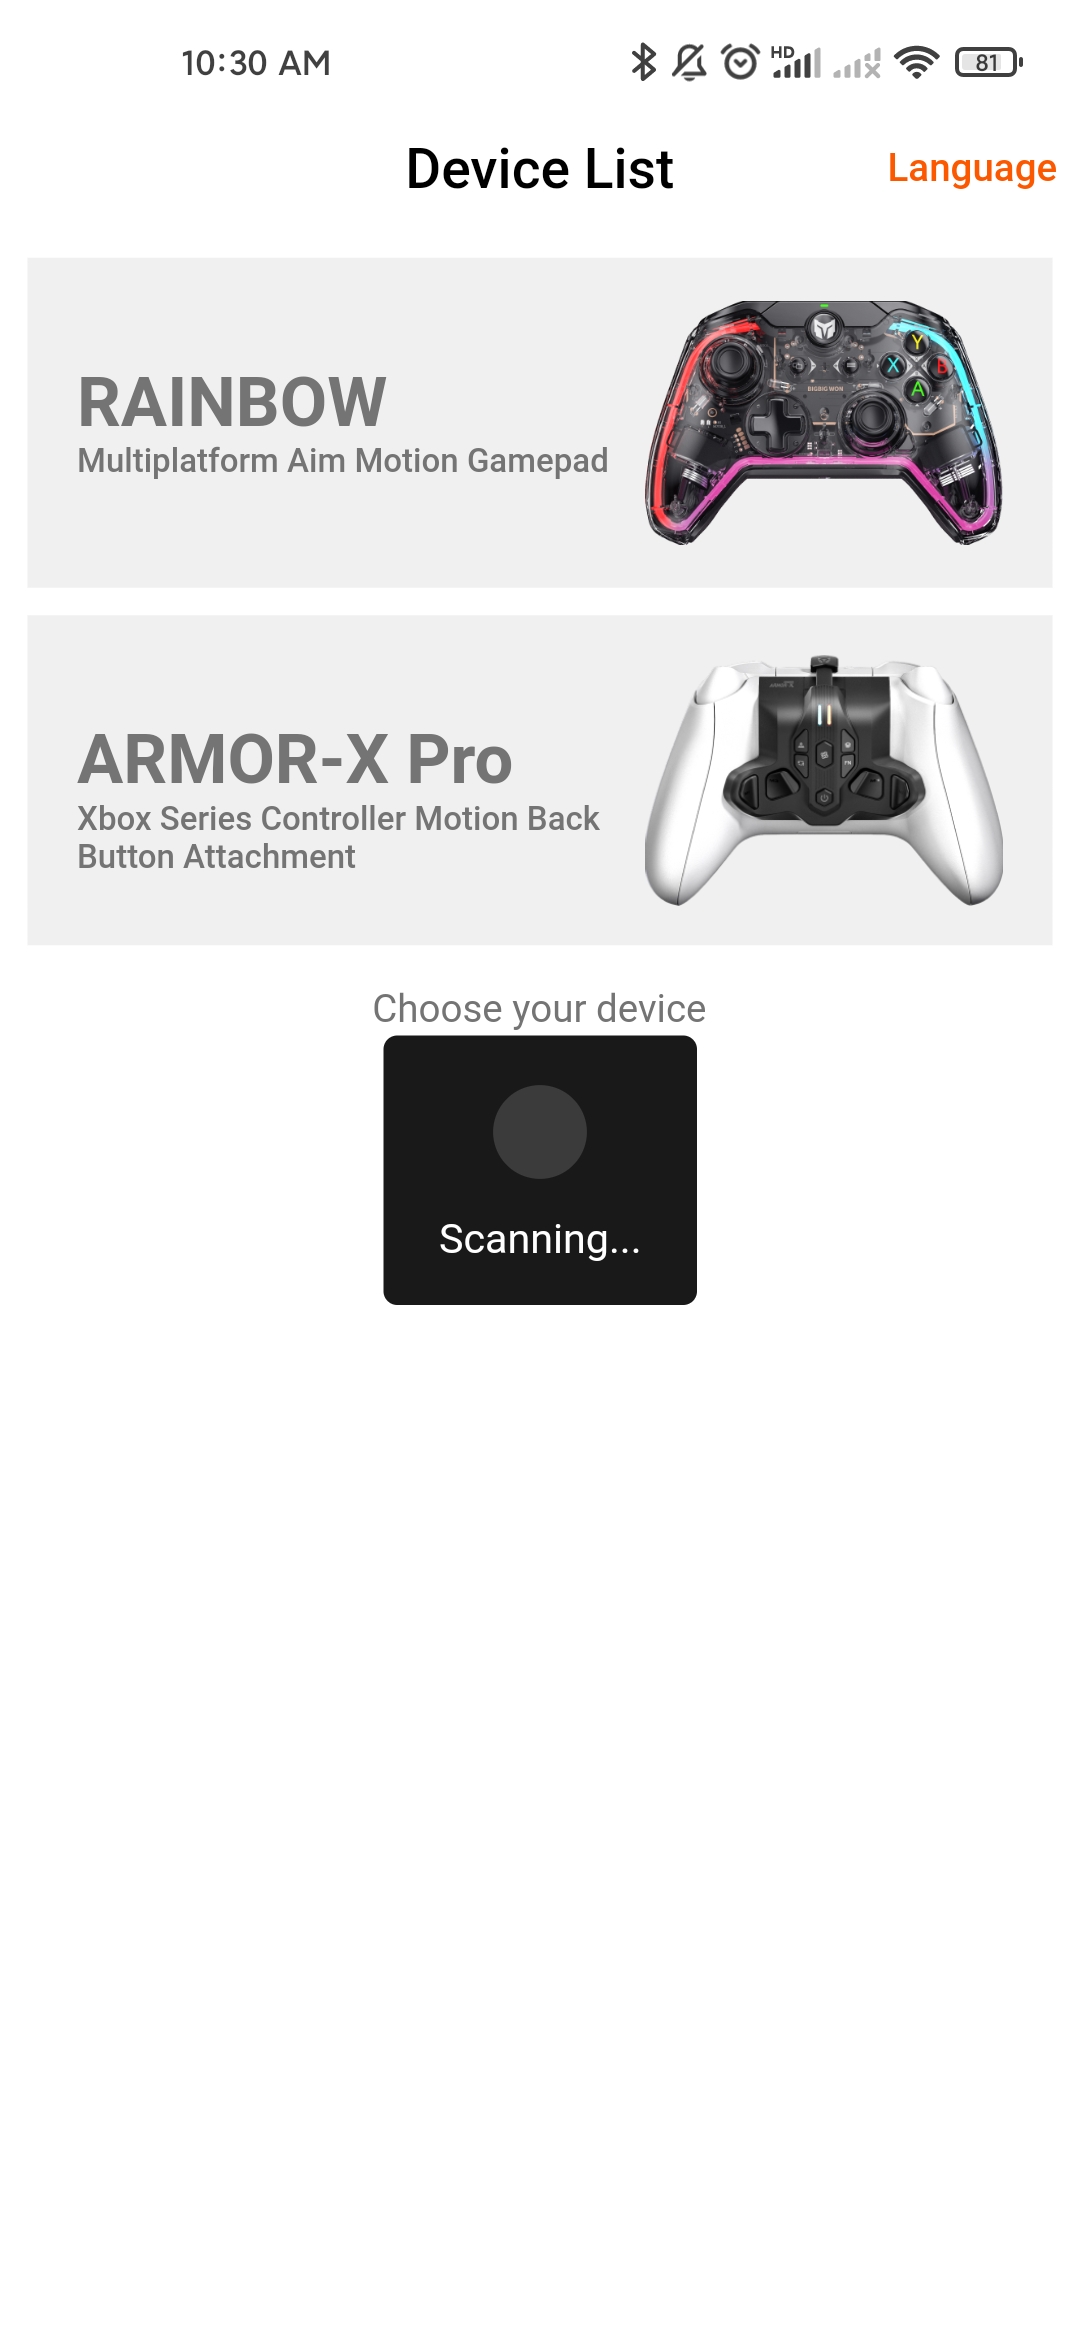
3. After open the Bluetooth and allowed the APP get location info permission click the device in the list. The APP will scanning your device.
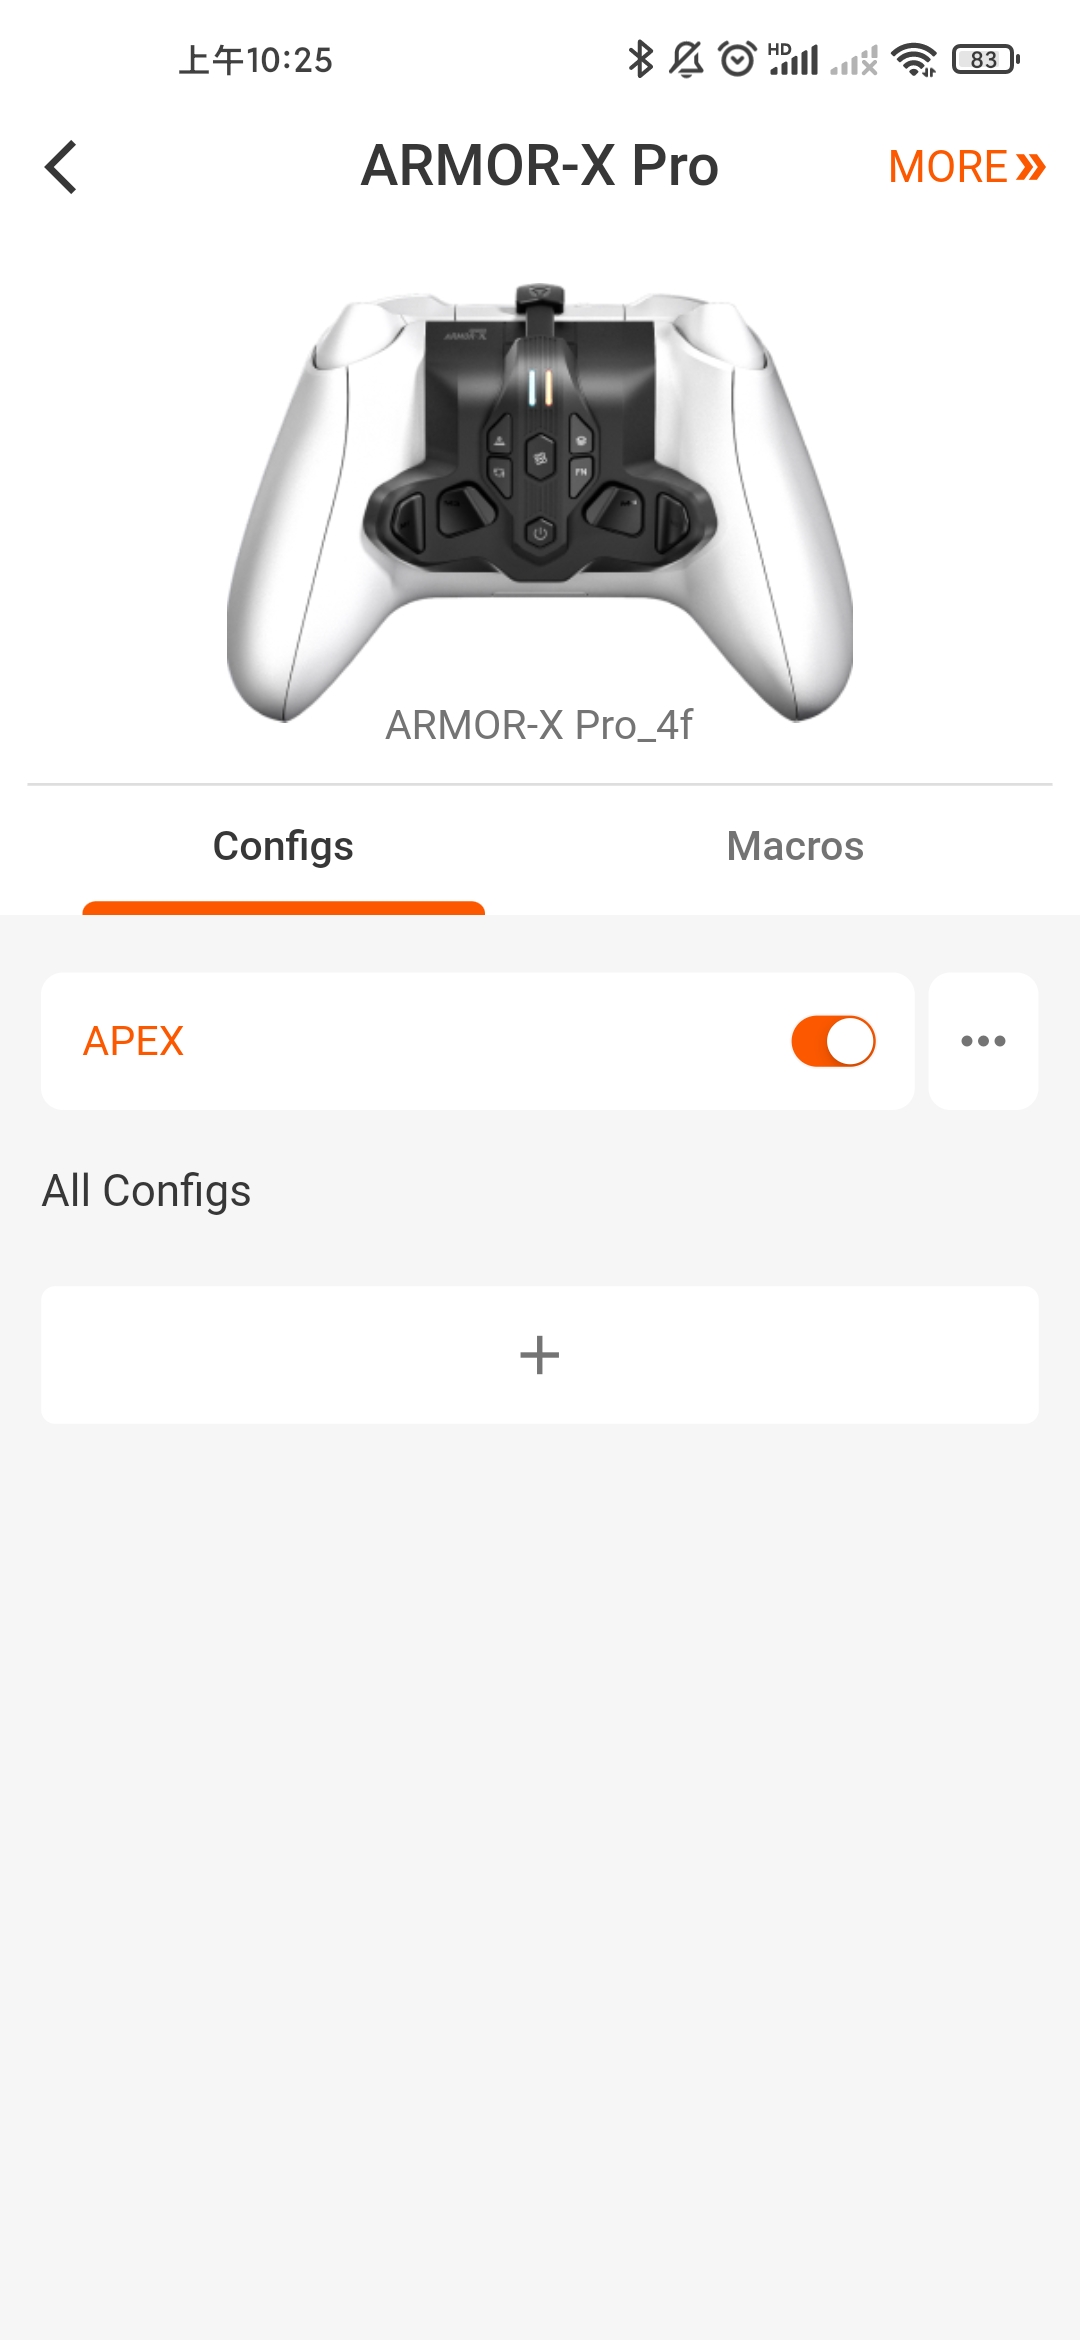
4. After the connection is successful, APP will enter the setting interface.
04 ARMORX Pro: Motion Control Tutorial
There are 3 modes of motion control: Global right joystick simulation, Response right joystick simulation, Global left joystick simulation.
- Global Motion Control: After opening the Global Motion Control the gyroscope will work all time. The Global mode can be set to control the left joystick or right joystick and the default setting is the right joystick for view control, motionAim.
- Response Motion Control: After opening the Response Motion Control Only when the specified button is pressed, the motion control will be turned on, and when the button is released, the motion control will be turned off.
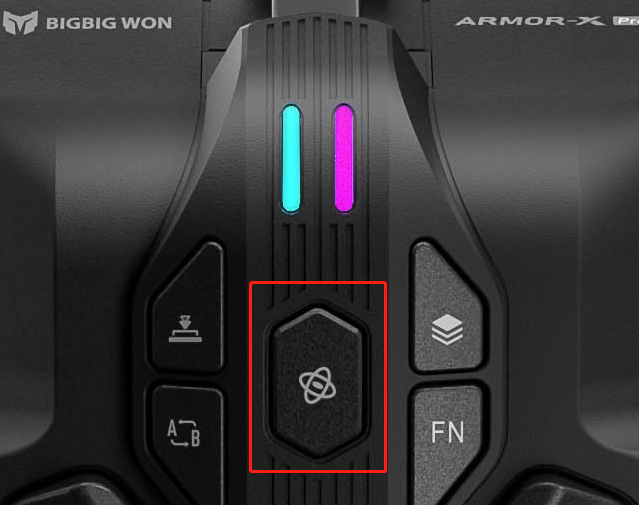
Global right joystick simulation: Recommended mode
The factory default setting clicks once the MotionAim control button and this mode will open
- For shooting, games with frequent camera control.
- Open Method: Hold the MotionAim control button with “
 ” of ARMORX Pro and press the right joystick RS/R3 button. The LED2 on the right side will be purple.
 - Close Method: Click once MotionAim control button.
- Restore the last motion mode: click the MotionAim control button once again.
Response right joystick simulation: Recommended mode
- For shooting, games with frequent camera control.
- Hold the MotionAim control button with “
 ” of ARMORX Pro + trigger button and press the right joystick RS/R3 button. The LED2 on the right side will be purple.
 - Close Method: Click once MotionAim control button.
- Restore the last motion mode: click the MotionAim control button once again.
Global left joystick simulation
- For racing, flight games.
- Open Method: Hold the MotionAim control button with “
 ” of ARMORX Pro and press left joystick LS/L3 button. The LED2 on the right side will be purple.
 - Close Method: Click once MotionAim control button.
- Restore the last motion mode: click the MotionAim control button once again.
About calibration
- This tutorial is about the calibration of the gyroscope.
- The SWITCH native motion control does not need calibration. You can calibrate ARMORX Pro on the SWITCH console if you want.
Auto Calibration:
- Attach the ARMORX Pro to the controller and open the Motion Control function.
- Put it on the desktop for 10+ seconds, it will automatically calibrate.
- We recommend you pick up the controller after 15 seconds.
Manual Calibration:
- Attach the ARMORX Pro to the controller and open the Motion Control function.
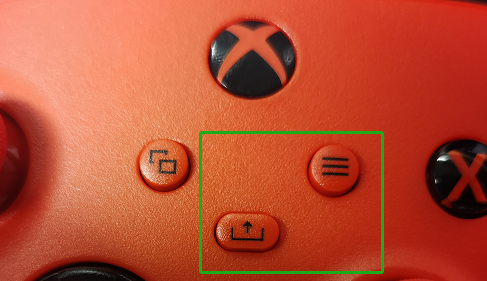
- Press menu button+share button to activate the calibration.
- After enter the calibretion mode the LED2 of ARMORX Pro on the right side will falsh twice in purple. If the calibration failed the LED2 won’t flash.
- If manual calibration fails, please repeat the above steps.
- Please do not do any operation, the SWITCH system will catch the gyroscope data by default.
- Important note: It is strongly recommended not to turn on the MotionAim Control. Otherwise, the original motion control will be replaced by the motion control simulation.
- Make sure that the MotionAim Switch is turned off, and the light of LED2 is not purple.
- For those games do not have native motion control can I use the motion control simulation? Yes you can refer to the tutorial above.
- The reason why Xbox controller is that all the Xbox controllers do not have gyroscope. And the games on Xbox do not support motion control as well.
- The ARMORX Pro has a 6-Axis gyroscope.
- After attach the ARMORX Pro the Xbox Series controller can support motion control.
- And the motion control has two modes: Native motion control, Simulate motion control.
The Native Motion Control means:
- Native Motion Control: It is the game that originally support motion control mainly on the SWITCH. For Native motion control games, the ARMORX Pro does not need any settings.
- Many games on SWITCH support Native Motion Control such as The Legend of Zelda, Splatoon, etc.
Simulate Motion Control:
- Make the games that do not support motion control use the Motion control.
- What can simulate motion control do: Players want these games that do not originally support motion control to be able to control the viewing angle or direction with moving controller, then they need to simulate motion control.
- The simulate motion control is reading the position of the controller and reporting the joystick data to the consoles to achieve the motion control.
- The motion control can be opened on the controller but for a better experience, we recommend you to set the most suitable settings such as gyroscope somatosensitivity and curve on the APP.


